
Walls can be tricky because they often hide pipes, wires, and irregular framing that can fool your stud finder. Materials like thick insulation or metal, along with wall anomalies like uneven surfaces, cause false signals or blind spots. Even paint or previous modifications can confuse detection tools. To get accurate results, you need to understand wall structure and use proper techniques. Keep going, and you’ll discover how to spot studs more reliably.
Key Takeaways
- Walls contain hidden pipes, wiring, and irregular framing, causing false readings and making wall surfaces unreliable for stud detection.
- Variations in wall materials, insulation, and internal objects distort signals, leading to inaccuracies in stud finder results.
- Stud placement can vary due to non-standard construction, irregular spacing, or horizontal and diagonal framing, “lying” to traditional methods.
- Surface anomalies like paint, patches, or wall modifications obscure signals, misleading electronic and magnetic stud finders.
- Relying solely on wall surface cues or basic tools can result in incorrect stud location identification due to hidden anomalies.
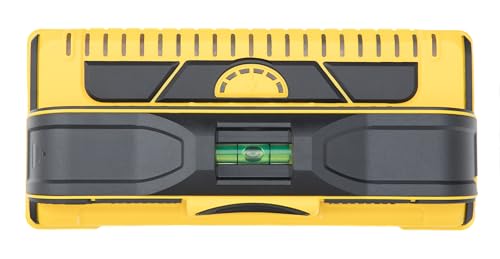
Franklin Sensors Prosensor M210 Stud Finder With 13-Sensors, Wood & Metal Stud Detector/Wall Scanner, Live Wire Detection, Made in the USA
Higher accuracy, better technology: with 13 patented sensors, the M210 detects studs more accurately
As an affiliate, we earn on qualifying purchases.
As an affiliate, we earn on qualifying purchases.
Why Walls “Lie”: Common Myths About Stud Finding
Have you ever been frustrated when a stud finder seems to give inconsistent readings? That’s often due to stud finder limitations and wall anomaly effects. Walls aren’t always perfect; pipes, wiring, or irregular framing can interfere with readings, making it seem like the wall is hiding something or giving false signals. Many believe that a stud finder is infallible, but they can’t always detect studs through thick insulation or metal. Some models struggle with wall irregularities, causing inaccurate results. It’s important to understand that wall anomalies—like uneven surfaces or embedded objects—can distort readings. Recognizing these limitations helps you avoid misjudging where studs are located, saving time and preventing unnecessary damage. Remember, a stud finder isn’t a magic wand; it’s a tool with specific strengths and weaknesses. Additionally, understanding wall anomalies and their effects can improve your accuracy when locating studs.
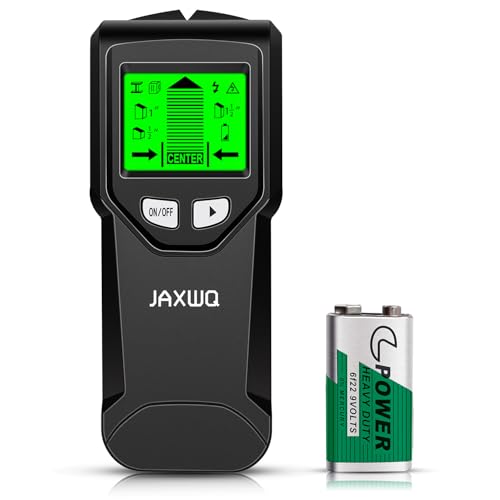
Stud Finder Wall Scanner – 5 in 1 Stud Finder Tool w/Smart Chip and HD LCD Display, Stud Detector Beam Finders for the Center and Edge of Wood AC Wire Metal Studs Joist Pipe (Charcoal)
Accurate and Rapid: The wall stud finder adopts an intelligent micro-sensor chip with the highest sensitivity which can…
As an affiliate, we earn on qualifying purchases.
As an affiliate, we earn on qualifying purchases.
What’s Behind Your Wall: The Wall’s Inner Structure

Understanding what’s behind your wall helps you locate studs accurately and avoid surprises. Walls consist of multiple layers of material, hidden electrical wiring, and support components that play a vital role. Recognizing these elements guarantees safe and effective anchoring for your projects. Additionally, knowing modern kitchen technology can be useful if you’re installing smart appliances or connected devices near your wall.
Wall Material Layers
Behind your walls lies a series of layered materials that provide support, insulation, and protection. Understanding these layers helps you locate studs more accurately. Typically, your wall consists of:
- Drywall composition, which forms the visible interior surface.
- Insulation layers, designed to regulate temperature and sound.
- Structural framing, usually wood or metal studs that give the wall strength.
- Outer sheathing or exterior siding, protecting against weather and impact.
The drywall acts as your interior finish, while insulation layers improve energy efficiency. Knowing the wall’s inner structure reveals where studs are likely to be, since they run vertically behind these layers. This layered design is essential for accurate stud finding and safe wall modifications.
Hidden Electrical Wiring
Hidden electrical wiring runs through the wall cavities, often tucked behind drywall and insulation layers. This wiring carries power to outlets, switches, and fixtures, making it essential to identify before drilling or cutting. Wall insulation surrounds the wiring, helping regulate temperature but also concealing its path. Electrical wiring can run vertically or horizontally, often following the studs, but it might bend or twist around obstacles. Using a stud finder with electrical detection capabilities helps locate these hidden wires safely. Ignoring their presence risks damaging the wiring, which could lead to electrical shorts or shocks. Always proceed with caution, especially when working near areas with visible outlets or switches, and consider using a non-contact voltage detector to verify the wiring’s location before any invasive work. Additionally, awareness of European cloud innovation can guide the selection of safer, more sustainable tools and methods for home projects.
Structural Support Components
Ever wonder what keeps your walls sturdy and supportive? It’s all about the structural support components behind the surface. These include:
- Wall framing—creates the skeleton of your wall, providing shape and stability.
- Joist spacing—determines the distance between horizontal supports, affecting load distribution.
- Stud placement—typically spaced 16 to 24 inches apart for ideal strength.
- Reinforcements—like bridging and blocking, which add extra support where needed.
Understanding wall framing and joist spacing helps you locate studs accurately and avoid damaging hidden components. These elements work together to ensure your wall can handle weight and resist movement. Without them, your walls wouldn’t be able to support drywall, insulation, or anything hung on them.

PREXISO 2-in-1 Stud Finder with Laser Level, Rechargeable Multi Surface Cross Line Laser & Wall Stud Scanners Tool for Hanging Frames & Picture, Wood Ac Wire Metal Studs Joist Pipe Detection
TIPS: 1. Calibration is necessary before using the stud finder function. 2. Laser level is manual-leveling, not self-leveling,…
As an affiliate, we earn on qualifying purchases.
As an affiliate, we earn on qualifying purchases.
How Studs Differ From Other Wall Parts
Studs are the vertical framing members that give walls their structure and support, setting them apart from other wall parts like drywall or insulation. Unlike drywall, which provides a smooth surface, studs are load-bearing and determine the wall’s overall strength. Stud spacing, typically 16 or 24 inches on center, influences wall stability and the placement of fixtures. Wall thickness varies depending on the stud type and insulation, affecting the interior space and mounting options. While drywall and insulation fill the spaces between studs, they don’t support weight or shape the wall’s framework. Knowing how studs differ from these components helps you understand the wall’s core structure, making it easier to locate studs accurately and avoid confusion caused by non-structural parts. Additionally, stud placement is critical for ensuring proper support for fixtures and structural integrity.

NOTANY Stud Finder Wall Scanner – 7-in-1 Electronic Wall Stud Detector, Detects Wood, Metal, AC Power, Joists, Pipes with LCD Display, Laser & Bubble Level Ruler
Stud Finder Wall Scanner: This stud finder not only reliably detects wooden beams, joists, metal, air conditioning pipes,…
As an affiliate, we earn on qualifying purchases.
As an affiliate, we earn on qualifying purchases.
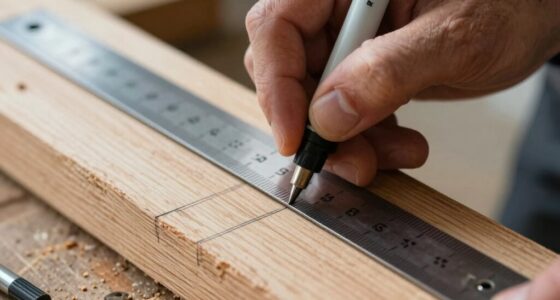
Traditional Stud Finding Methods and Their Drawbacks
Traditional stud finding methods often rely on manual techniques like knocking or using a tape measure, but these approaches can be unreliable. Relying solely on these methods exposes you to stud finder limitations and wall detection myths that can lead you astray. For example:
- Knocking only indicates hollow spaces, not the actual stud location.
- Tape measures can mislead if walls are uneven or have framing irregularities.
- Wall detection myths suggest studs are always spaced evenly, which isn’t true.
- Manual methods lack precision, increasing the risk of drilling into pipes or wiring.
- Understanding the contrast ratio of your tools can improve detection accuracy in different wall conditions.
These drawbacks highlight why traditional techniques often fall short, making it harder to accurately locate studs without modern tools. Understanding these limitations helps you avoid mistakes and prepares you to use more reliable methods.
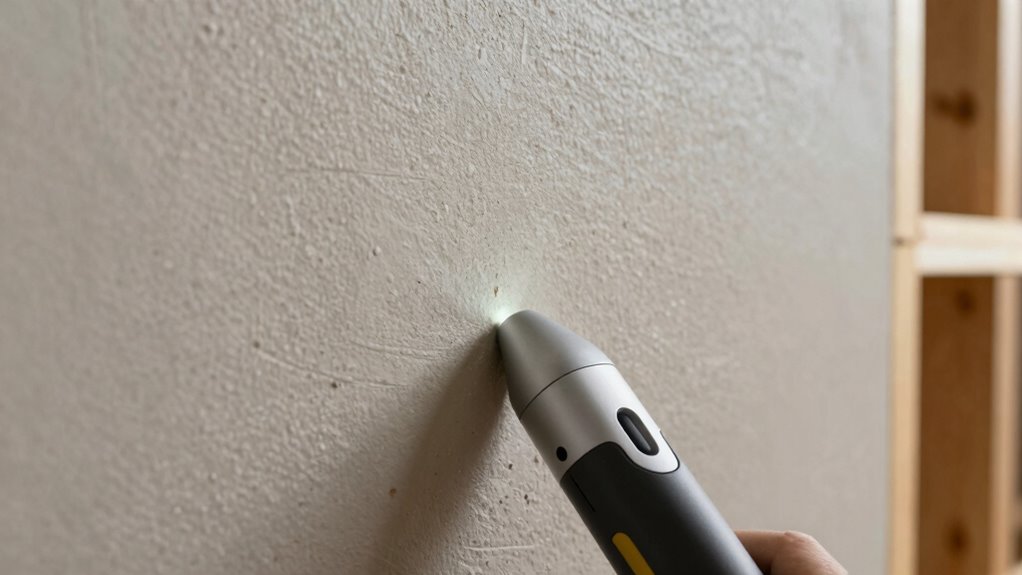
Best Tools for Finding Studs Accurately
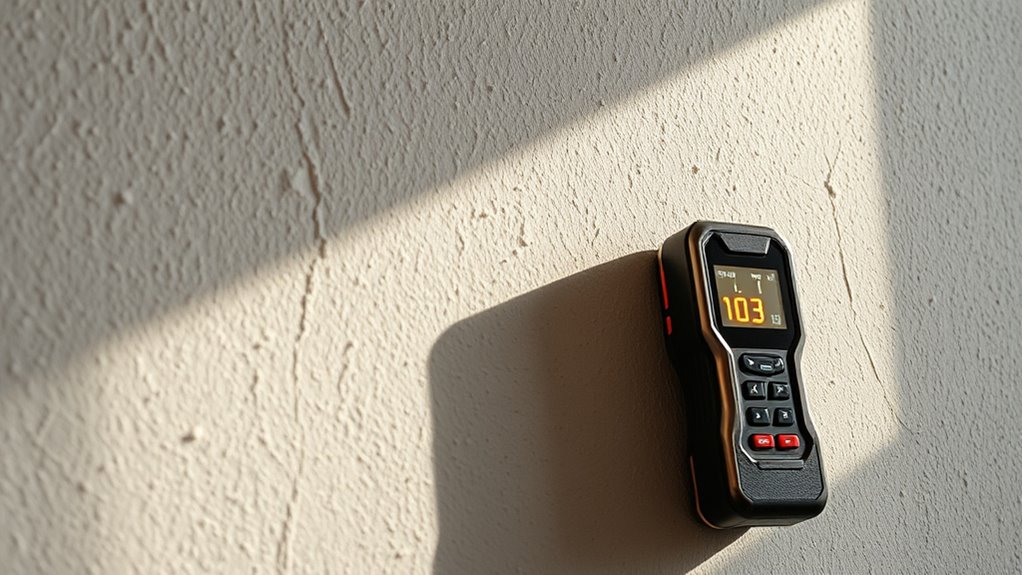
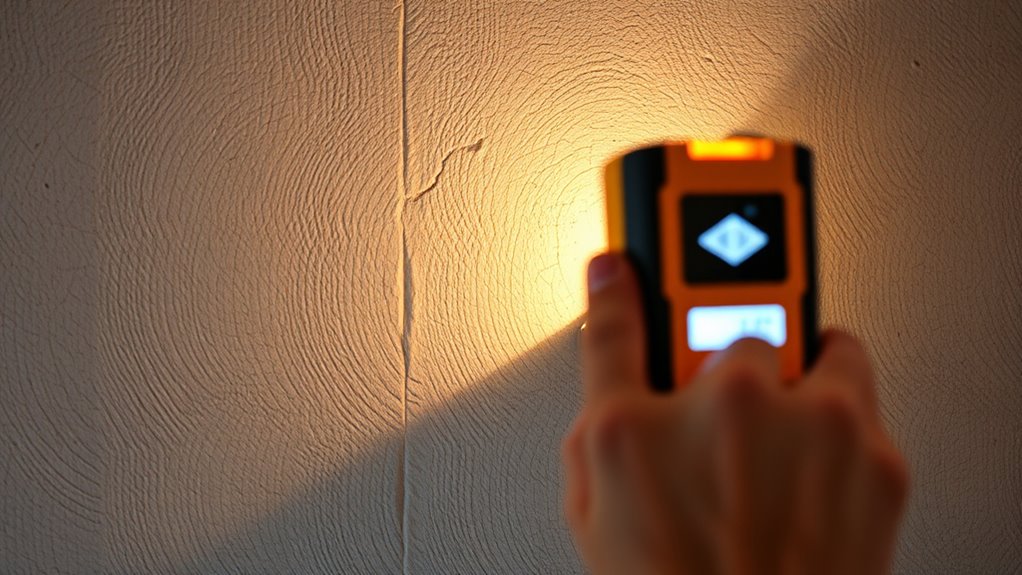
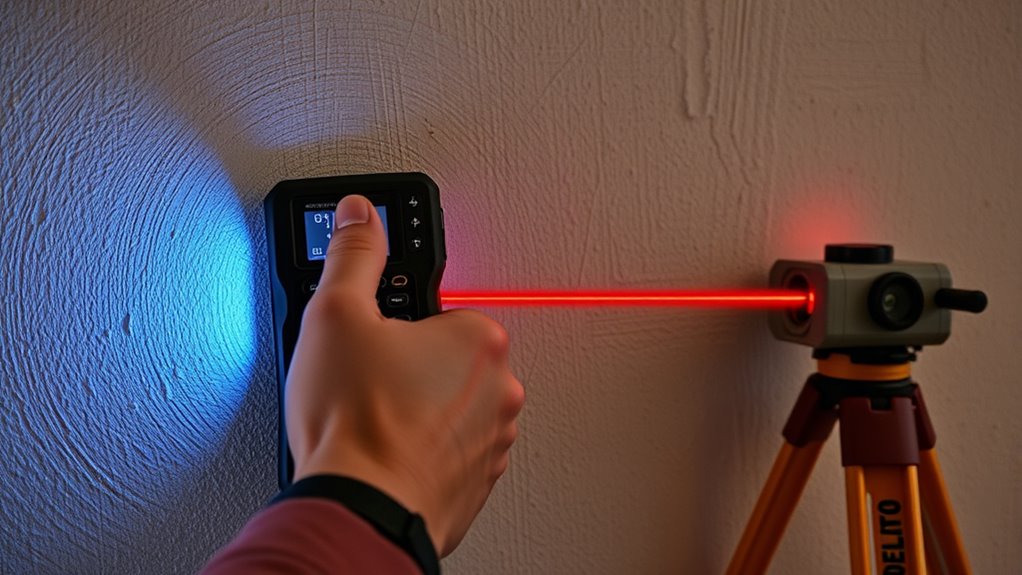
Manual methods like knocking or measuring often lead to inaccuracies when locating studs, especially in walls with irregular framing or uneven surfaces. To improve accuracy, consider using electronic stud finders. These tools often require proper stud finder calibration to guarantee reliable results. Keep in mind that wall material impact plays a significant role; for example, drywall, plaster, or tile can influence the tool’s detection ability. Magnetic stud finders are simple and don’t need calibration, but they may miss deeper or irregular studs. Electronic models with multi-sense technology can detect studs more precisely, especially if you calibrate them correctly and account for wall material differences. Choosing the right tool and properly calibrating it helps you find studs quickly and accurately, saving time and avoiding unnecessary damage. Incorporating connected fitness technology into your toolbox can also streamline the process by providing additional tools or apps that assist in wall measurements and calibration.
Advanced Techniques to Pinpoint Studs Precisely

Magnetism can be a powerful tool when used correctly, helping you locate nails or screws embedded in the wall. Electronic detectors offer more accuracy, especially in tricky spots or thicker walls. Combining these techniques can guarantee you find studs with greater certainty and precision. Creating a calm home involves using reliable tools and methods to reduce frustration and ensure successful results.
Using Magnetism Effectively
While a simple magnet can help locate a stud, mastering advanced techniques allows you to pinpoint its exact position with greater accuracy. Using magnetic tools effectively involves more than just sliding a magnet along the wall. Incorporate these strategies:
- Move the magnet slowly to feel for strong pulls indicating nails or screws.
- Use multiple magnets to cross-check signals for consistency.
- Focus on areas where magnetic fields seem strongest, suggesting stud edges.
- Combine magnetic detection with metal detection tools for confirmation.
- Recognize that understanding Youngster Choice can provide insights into personal branding and effective detection strategies.
Employing Electronic Detectors
Building on magnetic techniques, electronic stud detectors offer a more direct and reliable way to locate studs with pinpoint accuracy. To guarantee optimal performance, you must perform stud finder calibration regularly, especially when switching wall types. Wall material effects influence detector sensitivity; for example, drywall provides clear signals, while thicker or metallic walls may cause false readings. Use the detector’s calibration mode to adjust settings based on wall material. Remember, a well-calibrated device helps avoid misreads and increases accuracy. Here’s a quick guide:
| Wall Material | Calibration Tip | Effect on Detection |
|---|---|---|
| Drywall | Calibrate before use | Clear signals |
| Plaster | Adjust sensitivity | Slight false positives |
| Metal-backed walls | Use advanced calibration modes | Reduced accuracy |
Consistently calibrate to ensure precise stud detection, especially when working with different wall materials that can affect signal clarity.
What Can Mess Up Your Stud-Hunting Accuracy
Several factors can interfere with your ability to accurately locate studs. First, stud orientation varies; some walls have horizontal or diagonal studs, confusing detection. Second, wall paint can obscure signals from electronic detectors, making it harder to pinpoint studs. Third, metal objects like pipes or wiring run inside walls, creating false readings or hiding studs altogether. Fourth, irregular stud spacing or damage to wall surfaces can throw off your measurements. Being aware of these factors helps you adapt your approach. For example, knowing that stud orientation might differ and that wall paint could mask signals allows you to double-check with multiple methods. Recognizing potential wall obstructions ensures you don’t mistake a false signal for an actual stud, improving your accuracy. Additionally, understanding Free Floating can aid in recognizing non-standard stud placements that could otherwise lead to misidentification.
Easy Tips to Improve Your Wall-Stud Detection
To improve your wall-stud detection, start by using multiple methods to confirm your findings. Relying on just one technique can lead you astray, especially since stud placement often varies. Use a stud finder, but also tap the wall lightly to listen for a solid sound indicating a stud’s position. Keep in mind that wall insulation can sometimes interfere with electronic detectors, so double-check with physical cues. Mark the edges of each stud as you go, and measure spacing between marks; standard spacing is usually 16 or 24 inches on center. Remember, studs are more likely to be placed near door frames, windows, or corners. Combining these tips will help you accurately locate studs and avoid mistakes caused by wall insulation or irregular stud placement.
When to Double-Check Your Stud Locations
Double-verify your stud locations whenever something doesn’t seem right or when plans require precise placement. Walls can hide surprises like inconsistent wall insulation or hidden wiring, so verify your measurements. Also, pay attention to paint color changes or patches, which might indicate previous repairs or modifications. These signs suggest that studs may not align with your initial markings. Consider double-checking if:
- You notice uneven wall insulation or gaps.
- The paint color varies unexpectedly, hinting at previous repairs.
- Your stud finder detects inconsistent readings.
- You’re installing shelves or fixtures that need exact placement.
Being cautious ensures you avoid drilling into electrical wiring or misplacing fixtures. Double-checking saves time and prevents damage, especially in walls with hidden or altered structures. Trust your tools, but stay alert for wall clues.
Frequently Asked Questions
Can Electrical Wiring or Pipes Affect Stud Finder Readings?
Yes, electrical wiring and pipes can affect your stud finder readings. Electrical interference from live wires creates false signals, making it harder to locate studs accurately. Metal objects like pipes also interfere by giving off signals that can be mistaken for studs. To get the best results, turn off power to nearby wiring and avoid areas with visible pipes or metal fixtures. This helps guarantee your stud finder gives you accurate readings.
How Do Temperature and Humidity Influence Wall Stud Detection?
Did you know that temperature and humidity can reduce stud finder accuracy by up to 30%? Thermal interference from temperature fluctuations and moisture impact from high humidity can cause false readings or make studs harder to detect. When walls are cold or damp, the stud finder’s sensors struggle to distinguish between studs and other materials. To improve results, use your stud finder in stable conditions and allow walls to acclimate.
Are There Wall Types Where Stud Finders Won’t Work Effectively?
Yes, stud finders often struggle with alternative wall materials and non-metallic studs. If your wall uses materials like plaster, lath, or foam boards, a standard stud finder may not detect studs accurately. Non-metallic studs, such as those made from wood or plastic, can also be invisible to magnetic or electronic detectors. In these cases, you’ll need alternative methods like tapping, measuring, or using specialized tools designed for these materials.
Can Previous Renovations Hide or Distort Wall Studs?
Sure, your walls didn’t get the memo about sticking to the original design, so hidden studs from past renovations can easily deceive your stud finder. These modifications, like added drywall or insulation, distort the magnetic or electronic signals, exposing stud finder limitations. So, don’t be surprised if your device throws a tantrum—sometimes, walls are masters of disguise, hiding clues that even the smartest stud finders struggle to uncover.
How Often Should I Recalibrate My Stud Finder for Accuracy?
You should recalibrate your stud finder after every few uses or when switching between different wall types to guarantee accuracy. Regular calibration frequency is essential for reliable results, especially if you notice inconsistent readings. Proper tool maintenance, like cleaning sensors and storing it properly, also helps maintain calibration. By doing this, you ensure your stud finder stays precise, saving you time and preventing mistakes during your projects.
Conclusion
Remember, mastering wall mysteries means more than just methods; it’s about mindful measurement and meticulous movement. Don’t be fooled by false signals or fleeting facts. With patience and proper tools, you’ll confidently conquer wall quirks and locate studs with precision. Stay sharp, stay steady, and let your skills sharpen with every scan. Because in the world of wall-walking, wise work wins—making your measurements more meaningful and your projects more perfect.