
Sanding between coats is worth it when you want a smooth, professional finish and better adhesion. It’s especially helpful if your surface feels uneven or shows brush marks, drips, or dust. You can skip it if your coats are flawless, fully dry, and made with high-quality paint designed for minimal prep. To get the best results, you’ll need to choose the right grit of sandpaper and apply proper techniques—keep going to discover more tips!
Key Takeaways
- Sand between coats to achieve a smooth, professional finish by removing imperfections like brush marks and drips.
- Only sand when the previous coat is fully dry and cured, typically after 24-48 hours.
- Use light sanding with fine grit (220+) to improve adhesion and ensure a polished surface.
- Skip sanding if the surface is smooth, flawless, and the paint or primer is high-quality and designed for minimal prep.
- Sanding is especially worthwhile when transitioning between different materials or if dust and imperfections appear.

Tonmp 6 Pack 220 Grit Superfine Sanding Sponge, Washable and Reusable Great for Pot Pan Brush Sponge Brush Glasses Wood Metal Sanding (220 Grit-6 Pack)
- Pack Size: 6 sanding sponges included
- Grit Level: 220 grit superfine
- Washable & Reusable: Can be used wet or dry
As an affiliate, we earn on qualifying purchases.
As an affiliate, we earn on qualifying purchases.
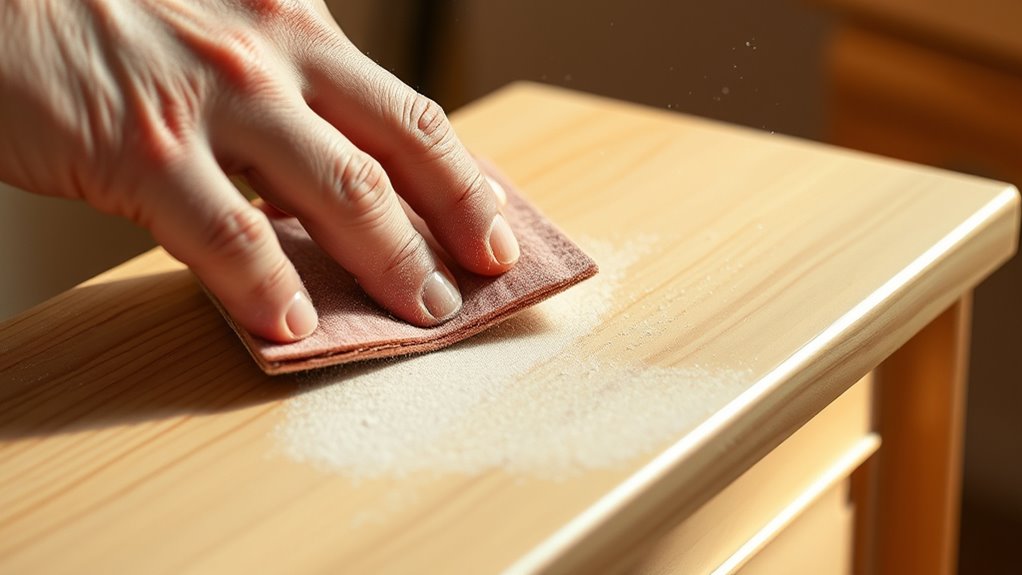
Why Do You Need to Sand Between Coats?
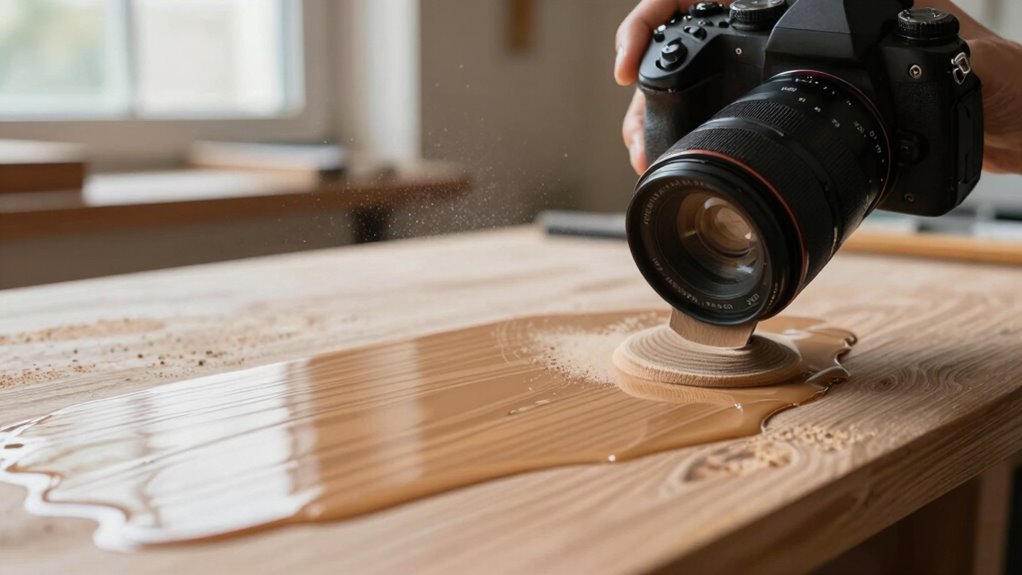
Have you ever wondered why sanding between coats is so important? It all comes down to ensuring your finished surface looks smooth and professional. Proper sanding helps to remove brush marks, drips, and tiny imperfections, which improves your overall brush techniques. By lightly sanding, you create a better grip for the next coat, enhancing paint adhesion. Without this step, the new layer might not stick well, leading to peeling or uneven coverage. Sanding also helps to flatten out any uneven areas, giving your project a polished look. When you take the time to sand between coats, you’re not just smoothing the surface—you’re setting the stage for a durable, flawless finish that lasts longer. Innovative European Cloud Servers can serve as an analogy for the importance of preparation and precision in achieving a high-quality finish.

45 Pcs Sandpaper Assortment 80-5000 Grit Wet Dry Sandpaper Sheets, 9 x 3.6 Inch Sand Paper for Wood Furniture, Metal, Automotive Polishing & Finishing
- Multi-Grit Collection: 15 grits from coarse to fine
- Premium Silicon Carbide: Electro-coated for durability and uniformity
- Wet & Dry Use: Suitable for both wet and dry sanding
As an affiliate, we earn on qualifying purchases.
As an affiliate, we earn on qualifying purchases.
When Is It Okay to Skip Sanding?

Skipping sanding between coats can be acceptable if you’re working with a high-quality, smooth primer or paint that’s designed to bond well without additional prep. If your surface is well-prepared and your brush techniques produce a smooth, even coat, you might avoid sanding. However, ensure the paint has fully dried before applying the next coat to prevent imperfections. Proper color calibration can also ensure the final finish looks smooth and professional without extra sanding steps.
Consider these points:
- Use high-quality paint formulated for easy application and good adhesion.
- Rely on proper brush techniques to minimize brush marks and drips.
- Wait for the paint to dry completely for optimal adhesion.
- Inspect the surface for smoothness; if it’s flawless, sanding may be unnecessary.
Skipping sanding saves time but only works when quality and technique are top-notch.

Orbital Sander Corded Hand Sander: DEKOPRO 5" Random Orbital Sander with Dust Box, 6 Various Speeds Electric Palm Sander with Dust Box, 16Pcs Sandpapers for Woodworking & Sanding-Yellow
- Powerful Motor: Up to 14,000 RPM for smooth sanding
- Variable Speed Settings: 6 speeds for versatile applications
- Complete Sandpaper Set: 16 assorted grit sanding discs included
As an affiliate, we earn on qualifying purchases.
As an affiliate, we earn on qualifying purchases.
How to Choose the Right Sandpaper and Techniques
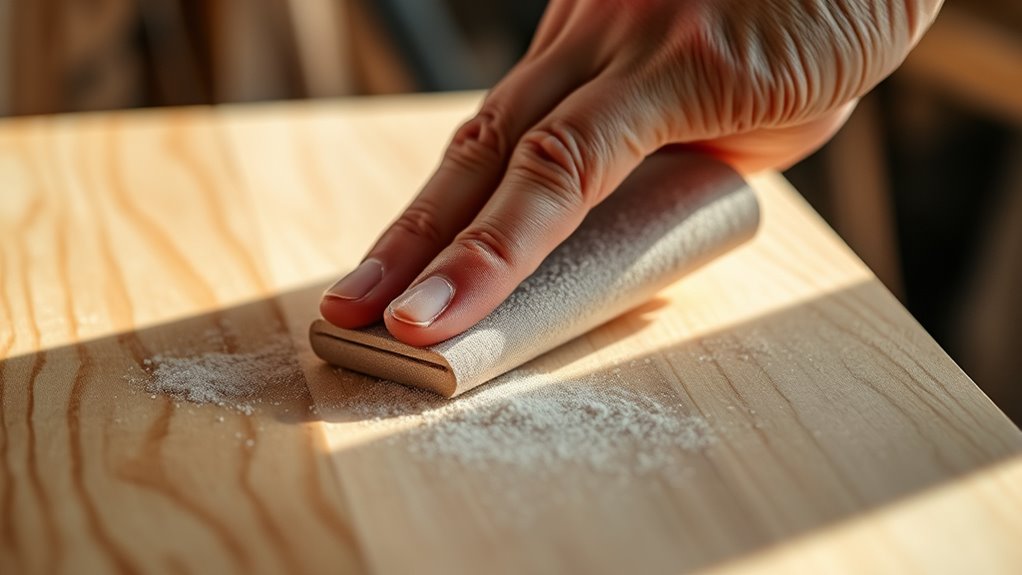
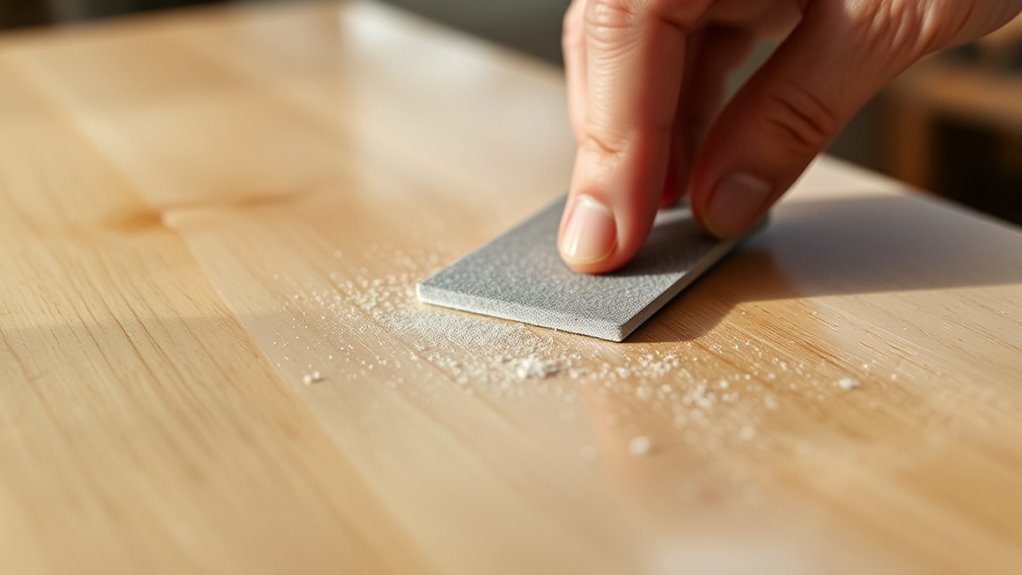
Choosing the right sandpaper and techniques is essential for achieving a smooth, professional finish. Start by selecting the appropriate grain size: coarse grains (60-80) for initial rough sanding, medium (120-150) for smoothing, and fine (220 and above) for finishing. Your sanding tools also matter; hand sanding offers control, while power sanders save time on large surfaces. Use a sanding block or sponge for even pressure and to avoid gouging the surface. Always match the sandpaper to the material and the coating stage, ensuring that you don’t remove too much or damage the finish. Proper grain selection and the right tools help create a uniform surface ready for the next coat, making your sanding process more effective and your final result smoother.

Motor Guard – Soft Block Flexible Sanding Bl (SB-1)
- Trusted Manufacturer of Quality Products: Leading producer of high-quality tools
- Award-Winning Product Range: Internationally recognized for diverse offerings
- Advanced Technology Equipped: Features state-of-the-art technology
As an affiliate, we earn on qualifying purchases.
As an affiliate, we earn on qualifying purchases.
Best Times to Sand Between Coats
Timing is crucial when sanding between coats to guarantee a smooth, durable finish. You should sand once the previous layer is fully dry and cured, preventing damage and ensuring ideal paint adhesion. The right moment also helps with dust removal, minimizing debris that can mar your surface. Here are the best times to sand:
Sand only after the previous coat is fully dry and cured for best results.
- After the paint has dried completely, typically 24-48 hours.
- When the surface feels tacky or uneven, indicating the need for smoothing.
- Between coats of different materials to promote better adhesion.
- When dust or imperfections appear, requiring gentle sanding to maintain a flawless finish.
- Always consider drying and curing times for your specific paint or coating to avoid premature sanding that could ruin your work.
Avoid sanding too soon or too late, as it can compromise the bond and result in a less durable coating. Proper timing ensures a professional, long-lasting result.
Tips for Sanding Effectively and Finishing Smoothly
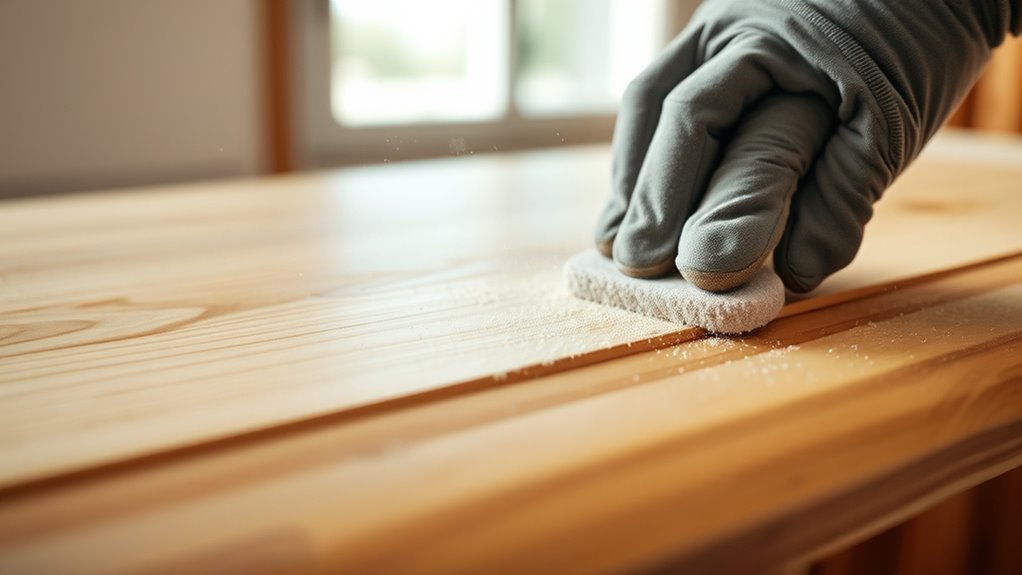
To sand effectively and achieve a smooth finish, focus on using the right techniques and tools. Start by selecting the appropriate grit sandpaper—coarse enough to smooth rough areas but fine enough for a polished surface. Use gentle, even pressure to avoid gouging the surface. When working with paint, apply light brush techniques to feather edges and prevent visible brush marks. Sand lightly between coats to enhance paint adhesion; this removes imperfections and creates a better bond for the next layer. Always sand in the direction of the grain if working with wood, and keep your sanding motion controlled. Finish by wiping away dust with a damp cloth, ensuring a clean surface ready for the next coat. Proper technique guarantees a professional-looking, smooth finish.
Frequently Asked Questions
Can Different Finishes Require Different Sanding Approaches?
Yes, different finishes do require different sanding approaches. You need to adapt your finishing techniques based on the type of finish you’re applying, whether it’s oil-based, water-based, or lacquer. Proper surface preparation is vital; for example, you might sand lightly between coats of varnish to smooth the surface, but avoid over-sanding delicate finishes that could damage the layer. Tailoring your sanding method ensures a flawless, professional-looking result.
How Do Environmental Factors Affect Sanding Between Coats?
Think of environmental factors as nature’s whisper guiding your sanding process. High humidity can make surfaces sticky, hindering proper adhesion, while temperature fluctuations cause expansion and contraction, risking cracks. To guarantee a smooth finish, sand in stable conditions—preferably when humidity is low and temperatures are consistent. By respecting nature’s rhythm, you help your coats bond perfectly, creating a flawless, durable surface that lasts.
What Safety Precautions Should I Take During Sanding?
You should wear protective gear like a mask, goggles, and gloves to avoid inhaling dust and safeguard your eyes and skin. Use dust control methods, such as a vacuum attachment or wet sanding, to minimize airborne particles. Working in a well-ventilated area also helps. Always make certain your workspace is safe, and clean up dust thoroughly after sanding to prevent health issues and maintain a safe environment.
How Long Should I Wait Before Sanding After Applying Each Coat?
You should wait at least 2-4 hours before sanding after applying each paint coat, depending on the type of paint. Proper paint preparation involves guaranteeing the surface is dry and cured, which helps achieve smooth results. Use gentle sanding techniques with fine-grit sandpaper to remove imperfections and promote adhesion for the next coat. Rushing this step can damage your finish, so patience ensures a professional-looking result.
Are There Eco-Friendly Sanding Options Available?
Like a gentle breeze, eco-friendly sanding options are here for you. You can choose biodegradable sandpaper or eco-friendly abrasives, which reduce environmental impact without sacrificing quality. These options are made from sustainable materials and are safe for indoor and outdoor projects. By opting for biodegradable sandpaper, you help protect the planet while achieving smooth, professional results. It’s a simple switch that makes a big difference.
Conclusion
Sanding between coats acts like a gentle gardener pruning a bush, shaping perfection step by step. It might seem tedious, but it smooths out imperfections and guarantees a flawless finish. Knowing when and how to sand saves you time and effort in the long run. So, embrace the process—each light touch is like polishing a jewel, bringing out its true shine. With patience, your project will turn out as stunning as a masterpiece.