
Just because your wood glue feels dry on the surface doesn’t mean the bond is fully strong. Glue cures through a chemical process called polymerization, which takes time to develop internally. Factors like temperature, humidity, application thickness, and clamping pressure influence how quickly it cures. To make certain your joint is durable, you need to wait until it’s fully hardened and cured. Keep going to discover the signs that your glue has reached maximum strength.
Key Takeaways
- Dryness only indicates surface moisture; full strength develops internally over time.
- Proper curing involves polymerization, which continues after the surface appears dry.
- Environmental factors like temperature and humidity influence curing speed, not surface dryness.
- Feeling the joint’s firmness and visual cues confirm full cure, not just dryness.
- Rushing the drying process can result in weak joints, as surface dryness doesn’t mean full bond strength.
How Does Wood Glue Cure Over Time?
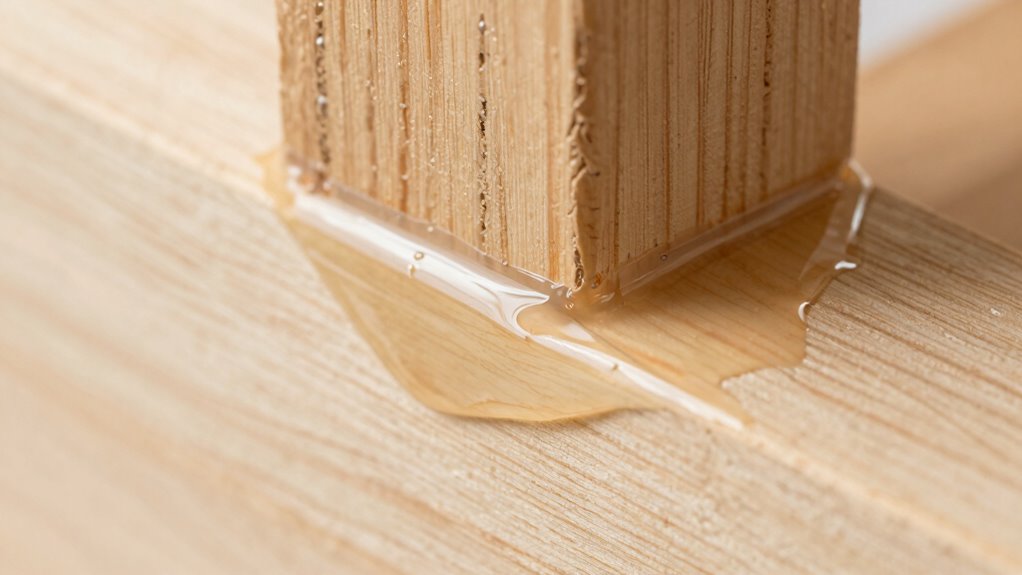
Wood glue cures through a chemical process called polymerization, where the glue molecules cross-link to form a strong, solid bond. As the glue sets, it penetrates tiny pores and fibers in the wood, creating effective adhesive bonding. During this process, wood expansion caused by moisture changes can influence how well the glue performs. If the wood expands or contracts considerably, it can stress the bond, potentially weakening it over time. That’s why proper clamping is essential to keep the glued surfaces tight until the adhesive fully cures. Over time, the polymer chains continue to strengthen, ensuring a durable connection. Additionally, energy-efficient curing methods can help reduce environmental impact during the woodworking process. Understanding how wood expansion impacts curing helps you make better joints, leading to a more reliable and long-lasting bond.
Why ‘Dry’ Doesn’t Mean ‘Strong’

Just because wood glue feels dry to the touch doesn’t mean it has fully cured or reached maximum strength. Drying time only indicates surface dryness, not the complete development of wood strength. Several factors affect this process:
- Application thickness – Thicker layers take longer to cure fully.
- Temperature and humidity – Higher humidity slows drying time and can weaken the bond.
- Type of glue – Different adhesives have varying curing mechanisms and timelines.
- Clamping pressure – Adequate pressure during curing enhances wood strength over time.
Even if it feels dry, the internal bond continues to strengthen over days. Rushing to use the project prematurely can compromise wood strength and durability, so patience is essential.
What Affects the Curing Speed of Wood Glue?

The speed at which wood glue cures depends on factors like humidity and temperature, which can either accelerate or slow down the process. Your application technique and the amount of glue you use also play a significant role in how quickly it sets. Paying attention to these elements helps ensure a strong, durable bond in less time. Additionally, understanding color accuracy can be important when selecting the right projectors for home cinema setups, as it influences the overall visual experience.
Humidity and Temperature
Humidity and temperature play crucial roles in how quickly wood glue sets. High humidity effects can slow down curing, as excess moisture interferes with adhesive bonding. Conversely, low humidity accelerates drying but might cause the glue to cure too rapidly, risking weak bonds. Temperature influence is equally critical; warmer conditions speed up the chemical reactions, leading to faster curing, while cooler temperatures slow the process. To maximize curing, consider these factors:
- Maintain a moderate humidity level to prevent delays or weaknesses.
- Keep the workspace temperature between 65-75°F for ideal curing speed.
- Avoid extreme heat or cold, which can compromise bond strength.
- Use a dehumidifier or heater if environmental conditions are outside suitable ranges.
- Being aware of environmental conditions helps ensure proper curing and optimal bond strength.
Adjusting humidity effects and temperature influence ensures your wood glue cures properly, resulting in stronger, lasting bonds.
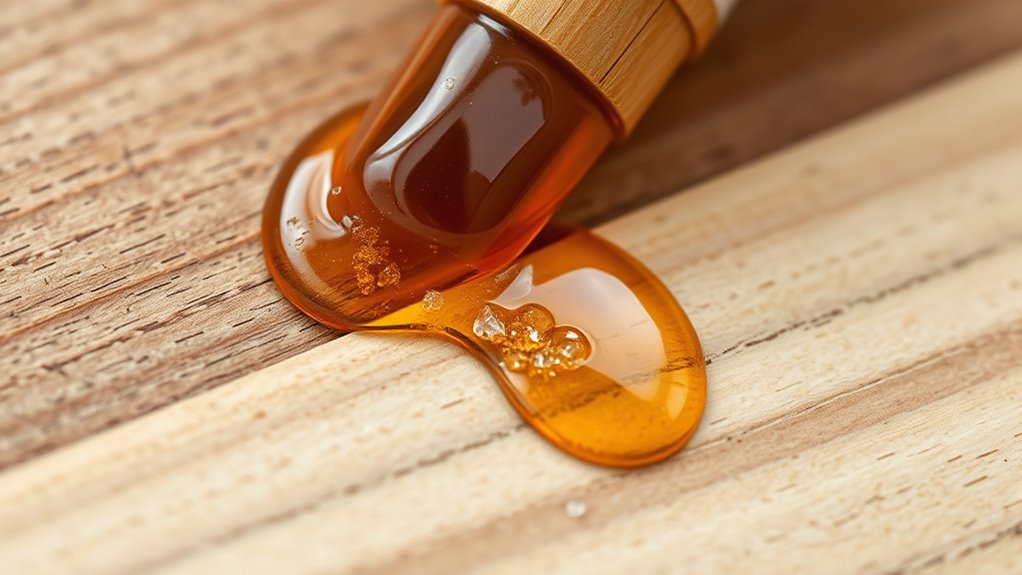
Application Technique and Amount
Applying the right amount of glue and using proper techniques are essential for controlling curing speed. An even application spread guarantees the glue bonds well without wasting excess glue, which can slow curing or weaken the joint. Too much glue creates a thick layer that takes longer to dry and may trap air or moisture, delaying curing. Conversely, applying too little can result in weak bonds. Use a brush, roller, or squeeze bottle to achieve a thin, uniform layer. Remove any excess glue promptly to prevent it from seeping into unwanted areas and prolonging drying time. Proper application technique helps ensure the glue cures evenly and efficiently, giving you a stronger, more reliable bond in less time. Incorporating visual and auditory cues can also aid in monitoring the curing process to achieve optimal results.
How Can You Tell When Glue Is Fully Cured?

You can tell when wood glue is fully cured by looking for clear visual changes, like a uniform, dry surface. Gently touch the area to see if it feels firm or hard, which indicates it’s ready. Always check the manufacturer’s recommended curing time to make certain of the best results. Additionally, performing a simple test such as applying light pressure to the joint can help confirm whether the glue has reached its full strength.
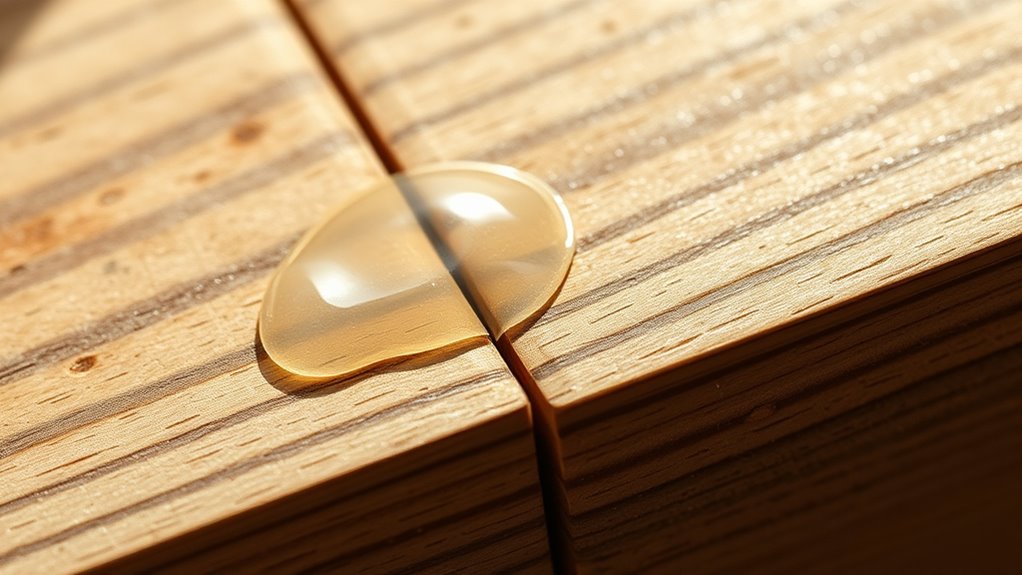
Visual Clues of Curing
Once the glue begins to cure, several visual signs can indicate it’s fully set. Pay attention to the surface appearance and visual cues. First, the glue’s surface should appear clear or slightly dull, with no glossy or wet spots remaining. Second, the edges of the joint may look flush and seamless, with no signs of smudging or excess. Third, the color of the glue often darkens initially but then stabilizes once cured. Fourth, if you gently press the surface, it should feel firm and resistant, with no softness or tackiness. Additionally, the presence of a free-floating state can sometimes be observed in certain adhesives, indicating incomplete curing. These visual cues help you judge when the glue has fully cured, ensuring a strong bond. Relying on surface appearance and visual signs prevents premature handling and guarantees the best results.
Touch and Hardness Test
After observing visual cues, a reliable way to confirm that the glue has fully cured is by performing a touch and hardness test. During the curing process, the adhesive properties of the glue change from a soft or tacky state to a firm, solid texture. Gently press your finger on the surface; if it feels hard and no indentation remains, the glue is likely cured. Keep in mind that some adhesives may develop a hard exterior before reaching maximum strength internally. Testing for hardness provides a practical indicator of whether the curing process has completed, ensuring the bond is strong enough for use. Additionally, understanding the curing time for different glues can help you plan your project more effectively. Just remember, a fully cured glue should feel solid and resist compression, confirming it has reached its ideal strength.
Manufacturer’s Recommendations
How can you tell when glue is fully cured according to manufacturer’s recommendations? It primarily depends on the curing time specified for your wood surface. Follow these steps to ensure proper curing:
- Check the recommended curing time on the glue’s label, usually ranging from several hours to overnight.
- Avoid disturbing the joint during this period to prevent weakening the bond.
- Use the manufacturer’s suggested environmental conditions, like temperature and humidity, to optimize curing.
- Once the curing time has elapsed, perform a hardness test or gently probe the joint to confirm it has reached full strength.
- For added confidence, consider monitoring the curing process to observe any changes in the glue’s properties over time.
Always adhere to these guidelines, as curing time varies based on the type of wood surface and glue used. Proper curing guarantees a durable, strong bond.
Tips to Maximize Joint Strength

To maximize the strength of your wood glue joints, ensuring proper clamping and pressure during curing is vital. Apply consistent clamping pressure to keep the surfaces tightly aligned without squeezing out excess glue. Adequate curing time allows the adhesive to reach maximum strength; rushing the process weakens the bond. Use the table below to help you optimize clamping pressure and curing time:
| Joint Type | Clamping Pressure | Curing Time |
|---|---|---|
| Edge-to-Edge | Firm but not excessive | 30 minutes to 1 hour |
| Face-to-Face | Moderate pressure | 24 hours |
| Miter Joints | Tight but not deforming | 24 hours |
| Dovetail Joints | Even pressure across joint | 24 hours |
| Butt Joints | Firm but not crushing | 24 hours |
Proper clamping and patience ensure your joints reach their full strength. Additionally, understanding the curing process can help you make informed decisions about timing and technique.
Common Mistakes That Weaken Your Joints
One common mistake that weakens wood joints is insufficient or uneven clamp pressure. If you don’t apply consistent pressure, the glue won’t bond properly, especially across the wood grain. To avoid this, keep these points in mind:
- Ensure even clamp pressure across the entire joint to prevent gaps or weak spots.
- Avoid over-tightening, which can squeeze out too much glue and weaken adhesion.
- Adjust clamp pressure based on the wood grain direction; the grain affects how pressure distributes.
- Use enough clamps to maintain uniform pressure, particularly on larger surfaces or complex joints.
- Remember that proper curing is essential for a strong bond; the right pressure ensures the glue cures effectively.
Frequently Asked Questions
Can I Use Wood Glue in Humid or Wet Conditions?
You can use wood glue in humid or wet conditions, but choose a moisture-resistant type for better glue durability. Regular glue may not hold up well when exposed to moisture, leading to weak bonds. For wet environments, select waterproof or exterior-grade wood glues designed to withstand moisture. Always guarantee proper application and clamping to maximize bond strength, especially in challenging conditions where moisture resistance is critical for long-lasting, durable joints.
How Long Does Wood Glue Typically Last Before Degrading?
Did you know that properly cured wood glue can last up to 10-15 years before significant degradation? Your wood glue’s lifespan depends on factors like exposure to moisture, temperature, and how well it’s applied. Generally, the degradation timeline varies—around 5-10 years in harsh conditions. To maximize longevity, keep your glued projects protected from excessive humidity and avoid water contact, ensuring your bond stays strong for years to come.
Is It Safe to Sand or Paint Over Cured Wood Glue?
Yes, you can safely sand or paint over cured wood glue, but guarantee proper sanding safety by using a dust mask and goggles. Lightly sand the glued area to improve paint adhesion and create a smooth surface. Avoid over-sanding, which can weaken the bond. Once sanded, apply paint or finish, and you’ll achieve a strong, seamless look. Proper preparation ensures durability and quality in your project.
What Are Signs of a Failed or Weak Glued Joint?
If your joint isn’t holding up, it may be time for a closer joint inspection. Look for glue failure signs like cracks, gaps, or peeling, which suggest weakness. You might notice movement or looseness when you apply gentle pressure. These clues indicate a failed or weak glued joint. Addressing these early guarantees your project stays sturdy, so don’t ignore subtle signs—trust your instincts and re-glue if needed.
Can I Accelerate Curing With Heat or Other Methods?
You can try to accelerate curing with heat application, but use caution. Applying gentle heat can speed up curing, improving curing speed, but excessive heat may weaken the bond or cause the glue to fail. Use a heat gun or warm cloth carefully, ensuring you don’t overheat the joint. Keep the temperature controlled, and allow adequate time for the glue to develop full strength for the best results.
Conclusion
Remember, drying isn’t the same as curing, and patience pays off. Did you know that wood glue reaches about 80% of its strength in just 24 hours, but full curing can take up to a week? Rushing the process risks weak joints. So, give your glue the time it needs, follow proper tips, and avoid common mistakes. That way, your projects will stay strong and last for years to come.