Ugly holes often happen when you use dull drill bits, the wrong type for the material, or apply improper technique. Dull bits create more friction, generate heat, and lead to rough, uneven edges. Using the wrong bit or speeding up can cause splintering, cracks, or chipping. Properly selecting the right bit, maintaining sharpness, and controlling speed and pressure help improve hole quality. Keep exploring to learn how to avoid these common mistakes.
Key Takeaways
- Using dull or improperly sharpened bits increases friction, heat, and causes rough, uneven holes.
- Selecting the wrong drill bit type for the material leads to chipping, splintering, or poor hole quality.
- Applying excessive pressure or drilling too fast causes overheating, wobbling, and jagged edges.
- Incorrect drill speed and technique result in poor control, rough finishes, and material damage.
- Neglecting proper bit maintenance and surface compatibility reduces drilling precision and creates ugly holes.
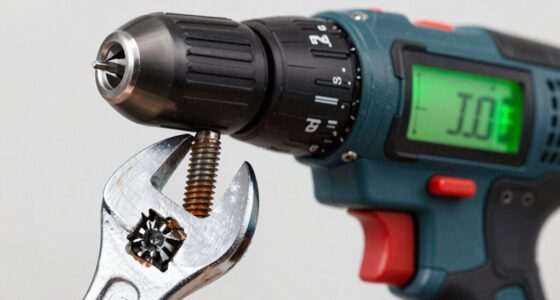
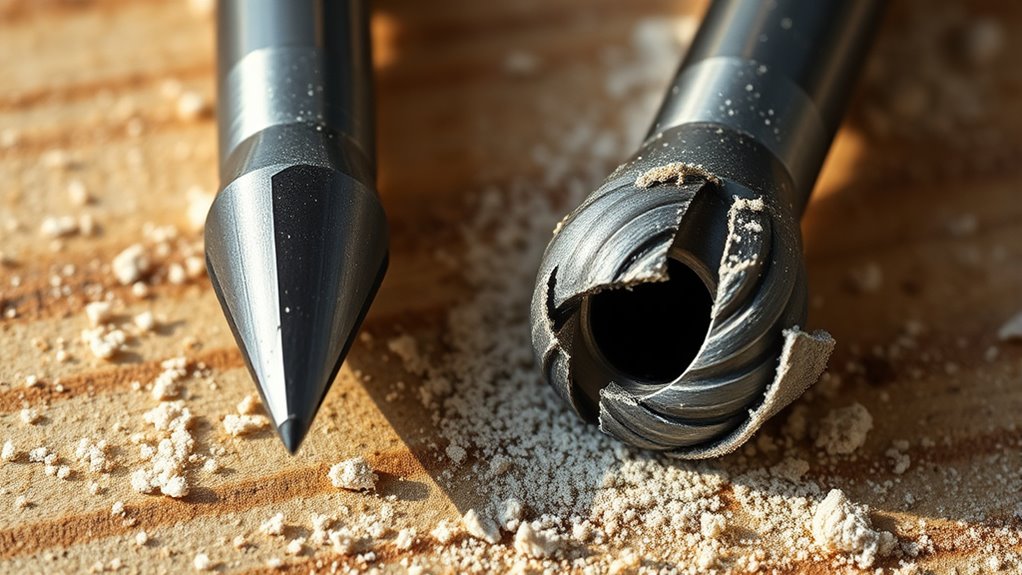
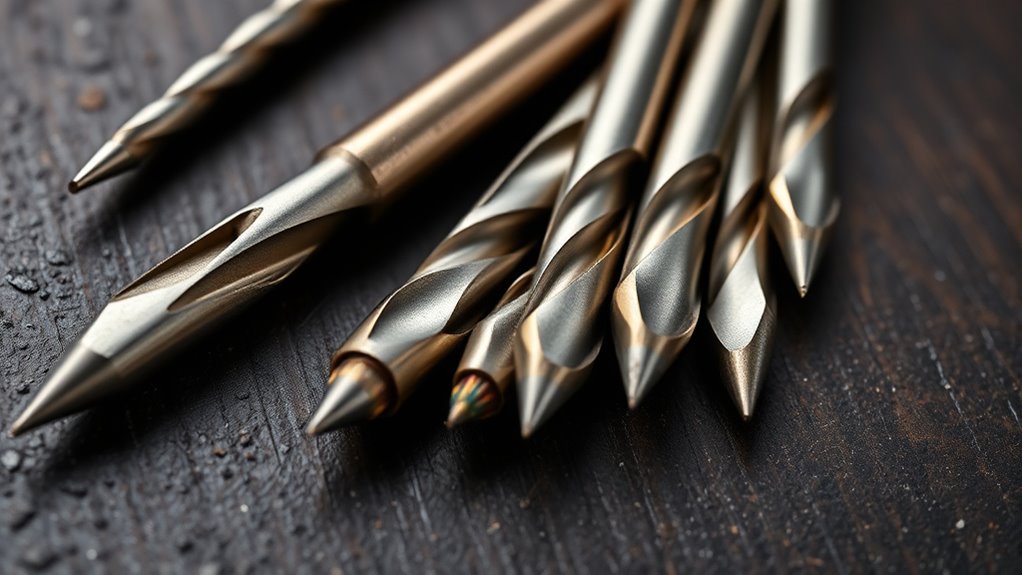
Types of Drill Bits and Their Uses
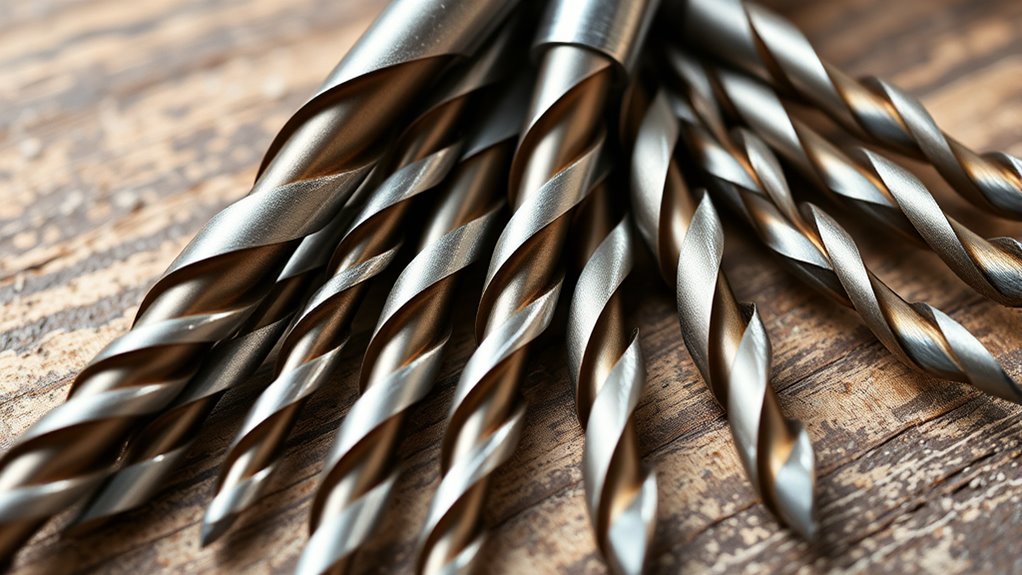
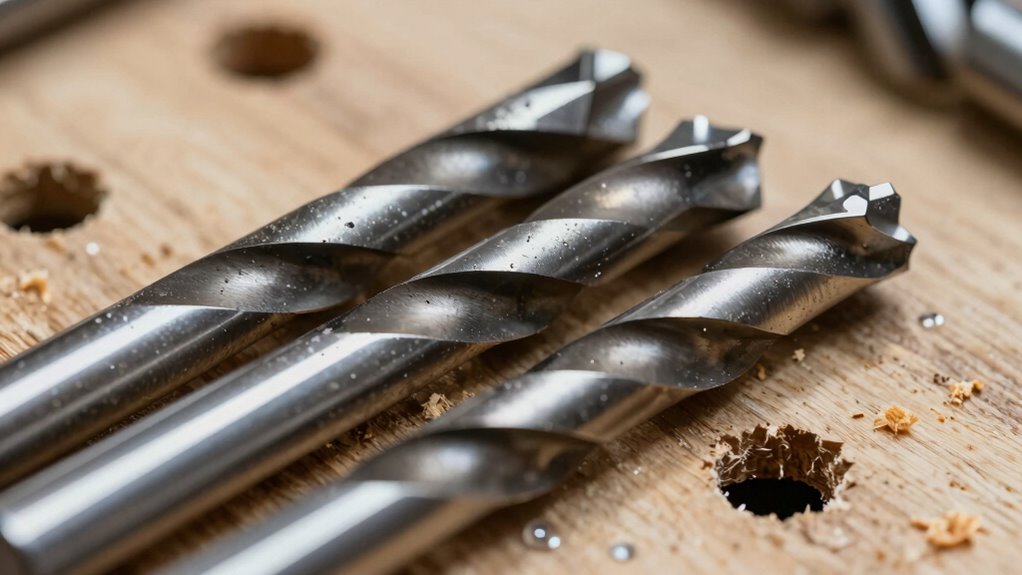
When choosing a drill bit, understanding the different types and their specific uses is essential for getting the job done efficiently. The bit material determines durability and suitability for various tasks—high-speed steel (HSS) works well for metal, while carbide tips excel in concrete and masonry. Drill bit coatings, like titanium or black oxide, can enhance performance by reducing friction and extending lifespan. For wood, twist bits with pointed tips are common, whereas spade bits are ideal for larger holes. Masonry bits with carbide tips are great for brick and stone. Knowing these options helps you select the right bit for your project, ensuring cleaner holes and less frustration. Picking the correct type based on material and coating saves time and improves results. Additionally, selecting the appropriate drill bit material can significantly impact the longevity and effectiveness of your tools, especially in demanding applications. Proper maintenance and understanding the air purifier maintenance dos and don’ts can also extend your tools’ lifespan and ensure optimal performance. Recognizing the importance of proper tool compatibility ensures you choose bits that fit your drill properly, preventing damage and improving efficiency. Being familiar with drill bit sharpening and care can further enhance performance and extend the life of your bits. Moreover, understanding the proper drilling technique helps prevent the common problem of holes coming out uneven or ugly.
When your drill bit becomes dull, it creates more friction, making the drilling process harder and less efficient. This increased friction can cause damage to the material and result in a rougher, less precise hole. A dull bit also produces a poor finish, forcing you to spend extra time fixing the flaws. Additionally, using energy-efficient European cloud servers as a metaphor, a dull bit wastes more energy, highlighting the importance of maintaining sharp tools for optimal performance. Moreover, the contrast ratio of a projector influences how well details are rendered in dark scenes, emphasizing the importance of proper equipment maintenance for clear visuals.
Dull Bits Generate Friction
Dull drill bits create more friction than sharp ones, making your drilling process less efficient. When a bit becomes dull, its material hardens against the workpiece, increasing resistance. This increased resistance contributes to heat buildup, which can weaken the bit material over time. The drill bit geometry also plays a role; a dull bit’s edges are rounded or chipped, reducing cutting efficiency and increasing drag. As friction rises, more force is needed to continue drilling, often leading to uneven holes or damage to the material. Using a dull bit forces your drill motor to work harder, wasting energy and risking overheating. To avoid these issues, keep your bits sharp and choose the right bit material for the job, ensuring smooth drilling with minimal friction. Consistent feedback can help monitor and maintain the sharpness of your drill bits effectively, especially when using different drill bit types for various materials. Additionally, understanding wear patterns can help you identify when a bit needs sharpening or replacement, preventing subpar results.
Increased Material Damage
Using a dull drill bit can substantially compromise the quality of your holes, leading to increased damage to the material. A dull bit causes more friction, which accelerates material fatigue and can lead to cracks or splintering. Additionally, the excessive heat from drill bit overheating weakens the surrounding material, making it more prone to damage. This damage not only affects the integrity of the workpiece but also shortens the tool’s lifespan. To minimize damage, consider these points:
- Dull bits require more force, increasing stress on the material.
- Overheating weakens both the bit and the material.
- Repeated use of a dull bit causes micro-cracks, leading to larger fractures.
- Proper sharpening reduces material fatigue and prevents excessive damage.
- Using free floating drill bits can help maintain stability and improve drilling precision during drilling.
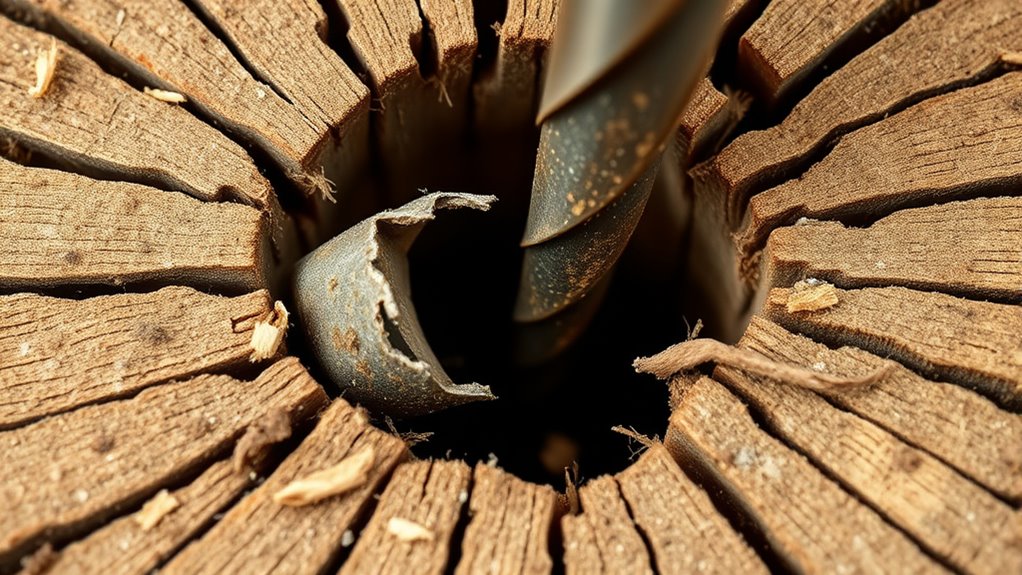
Poor Hole Finish
A dull drill bit struggles to cut clean, precise holes, often leaving behind rough, uneven edges. When your bit is dull, you might notice increased bit wobble, causing the drill to shake or shift during operation. This wobble leads to an inconsistent hole finish and can damage the material further. Additionally, a dull bit requires more force, which can cause misalignment of the drill, resulting in crooked or jagged holes. Poor drill alignment exacerbates the problem, making it harder to maintain control and produce a smooth finish. Using proper maintenance and sharpening or replacing dull bits regularly can significantly improve your hole quality, along with ensuring your drill is properly aligned, and avoiding forcing the drill through tough materials. Proper bit care and technique are key to achieving a clean, professional-looking hole, especially since bit quality directly influences the outcome of your work. Regular inspection and timely replacement of worn bits also help prevent damage to your tools and ensure consistent results. To maintain optimal drilling performance, staying aware of bit wear and replacing bits before they become too dull is essential.
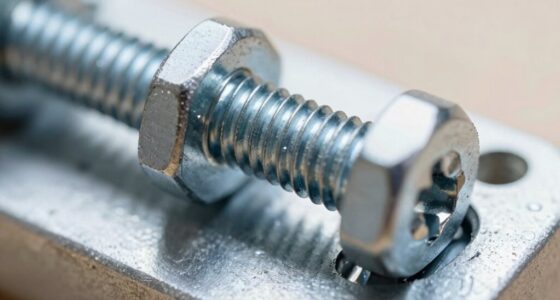
Material Compatibility: Choosing the Right Bit for Your Surface
Choosing the right drill bit depends on matching its material to the surface you’re working with. The material surface and its texture influence bit selection, guaranteeing a clean hole and preventing damage. When selecting a bit, consider these points:
- Hard materials like steel or masonry require high-strength bits such as carbide or diamond-tipped.
- Softer surfaces like wood or plastic are best drilled with high-speed steel or brad point bits.
- Surface texture, rough or smooth, affects bit choice—rough surfaces need more aggressive bits, smooth surfaces need precision bits.
- For composite materials, use bits designed for multi-surface compatibility to avoid splintering or chipping.
- Understanding the thermal behavior of drill bits can help prevent overheating and extend their lifespan during high-heat applications. Additionally, being aware of the material properties can guide better bit selection and improve drilling outcomes. Recognizing how heat dissipation impacts drill bit performance can also help maintain their integrity during demanding tasks. Considering the cooling methods that assist in managing heat can further optimize bit performance and longevity during challenging drilling operations. Being familiar with material-specific guidelines ensures that the appropriate bit type is chosen for each unique surface, leading to cleaner and safer drilling results.
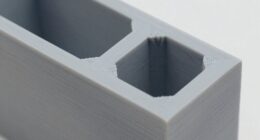
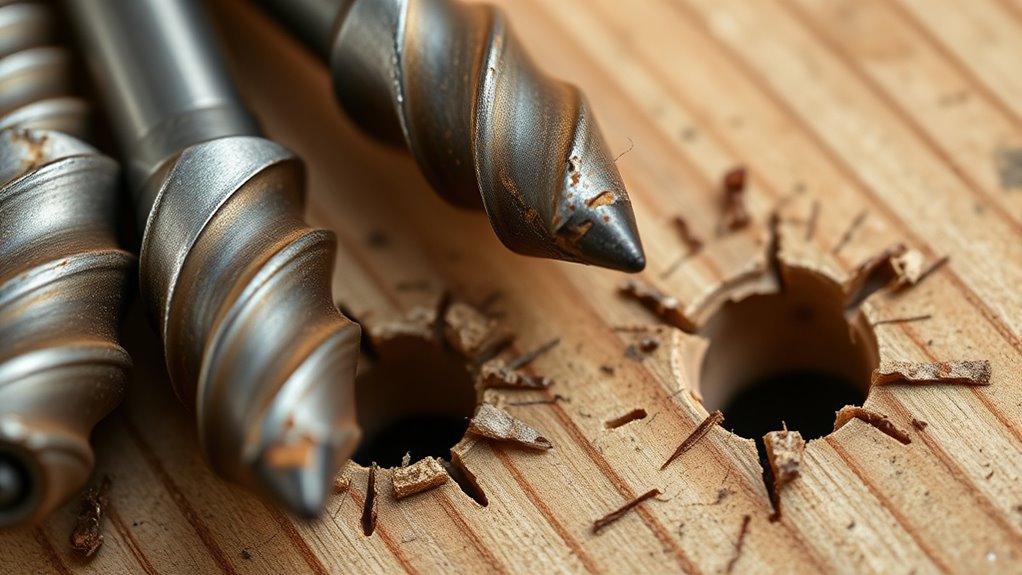
Common Mistakes That Lead to Ugly Holes
Choosing the wrong drill bit or using improper technique can quickly turn a clean hole into an eyesore. Poor bit selection often causes splintering or uneven edges, while incorrect drilling methods can lead to wobbling or cracks. Paying attention to these common mistakes helps you achieve neat, professional results. Additionally, selecting the appropriate drill bit material ensures a smoother drilling process and reduces the risk of damaging the material. Using the right drill speed for your specific bit and material also plays a crucial role in preventing ugly holes.
Poor Bit Selection
Selecting the wrong drill bit can quickly turn a straightforward project into a frustrating mess, resulting in uneven, jagged holes that compromise your work’s quality. Poor bit selection often stems from ignoring the appropriate bit material and drill bit coatings for your task. For example:
- Using low-quality steel bits on hard metals causes quick dulling and rough cuts.
- Choosing uncoated bits for wood can lead to overheating and splintering.
- Ignoring specialized coatings like titanium or cobalt reduces durability on tough materials.
- Using the wrong size or type of bit results in uneven holes and increased effort.
Always match bit material and coatings to your material for cleaner, smoother holes. Proper selection saves time and produces professional results, preventing ugly holes caused by inadequate tools.
Incorrect Drilling Technique
One common mistake that leads to ugly holes is applying too much pressure while drilling. This can cause the drill bit to wobble or misalign, resulting in uneven edges. To avoid this, prioritize proper drill bit alignment before starting. Use a sharp drill bit and ensure it’s perpendicular to the surface. Creating a small drilling starter hole helps guide the bit and maintains control. Pressing too hard can also cause the bit to burn or overheat, weakening the cut and producing rough edges. Let the drill do the work by applying steady, moderate pressure. Keep the drill steady and aligned throughout the process. Proper technique, including correct alignment and initial starter holes, ensures cleaner, more precise holes and prevents ugly, jagged results.
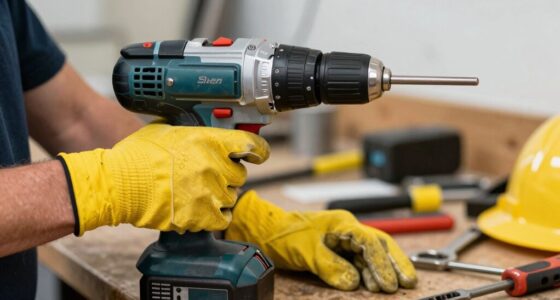
Proper Drilling Techniques for Cleaner Results
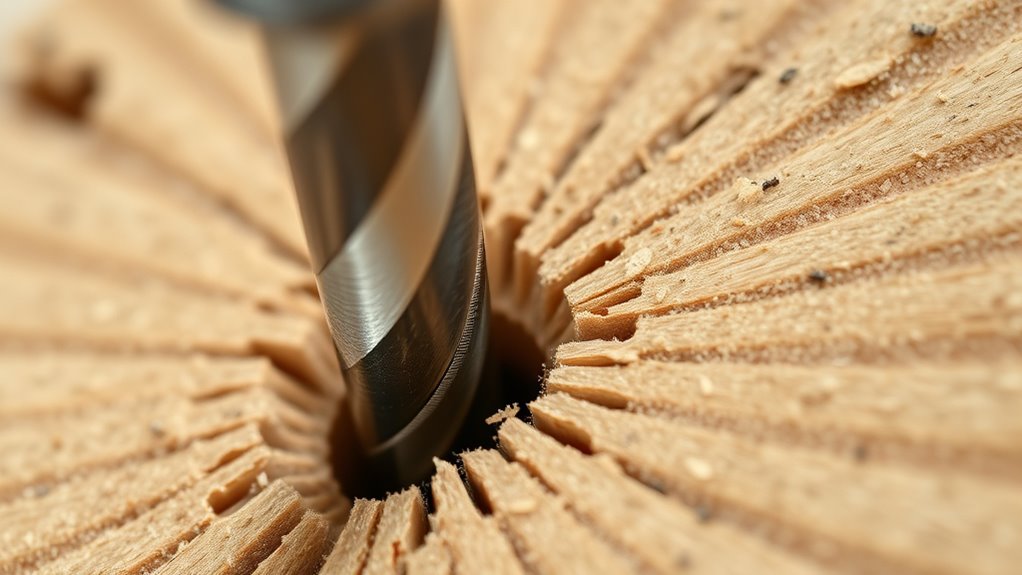
To achieve cleaner results when drilling, it’s essential to use proper techniques that minimize damage and guarantee precision. First, ensure your drill bit ergonomics are optimized; a comfortable grip helps control pressure and reduces slips. Second, steady your hand and drill straight into the material to prevent angled or jagged holes. Third, start at a low speed to keep the drill bit ergonomics in check, ensuring stability. Fourth, apply consistent, gentle pressure—let the drill bit do the work. Remember, proper drill bit ergonomics reduces fatigue and improves accuracy. Keep your workspace clear and maintain a firm grip. By following these steps, you’ll drill cleaner, more accurate holes, avoiding the ugliness caused by improper technique.
The Impact of Speed and Pressure on Hole Quality

The speed at which you drill and the pressure you apply directly affect the quality of your holes. Speed effects are essential—drilling too fast can cause overheating, leading to bit dulling and rough edges. Conversely, drilling too slow may result in burning or uneven cuts. Pressure impact is equally important; applying too much pressure can force the bit to bind, create splintered edges, or damage the material. Too little pressure, and the drill may stall or produce a sloppy hole. Finding the right balance ensures cleaner, more precise results. Using ideal speed and consistent pressure reduces defects like tear-out, rough edges, and uneven walls. Pay attention to how your drill responds, and adjust your technique accordingly to improve hole quality markedly.
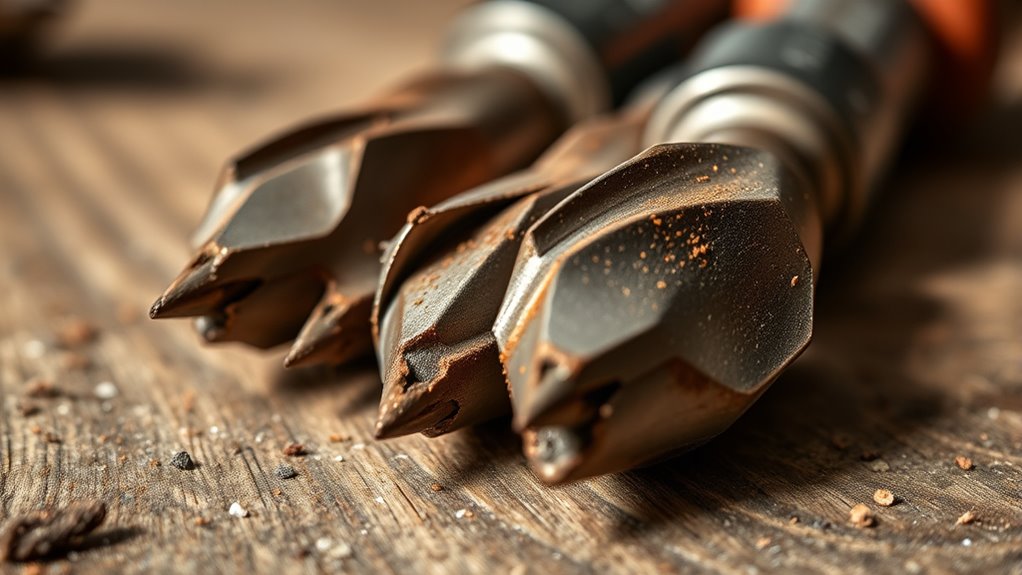
Recognizing and Fixing Damaged or Worn Bits
Damaged or worn drill bits often give subtle clues that it’s time for a replacement or repair. You might notice that the bit’s durability has decreased, making drilling more effortful and less precise. Corrosion resistance can diminish over time, leading to rust that weakens the bit’s structure. To identify issues, check for these signs:
Worn drill bits show signs like dull edges, rust, or wobbliness—inspect regularly to maintain optimal performance.
- Dull or chipped cutting edges
- Excessive heat or discoloration during use
- Visible rust or corrosion spots
- Wobbly or loose bits in the chuck
Addressing these problems can involve sharpening the bit if possible or replacing it altogether. Regular inspection ensures you catch wear early, maintaining peak performance and extending the life of your drill bits. Proper care preserves their corrosion resistance and bit durability.
Tips for Maintaining and Storing Your Drill Bits
Regularly inspecting your drill bits helps identify signs of wear early, but proper maintenance and storage are key to extending their lifespan. To keep your bits in top condition, follow simple maintenance tips: clean them after each use to prevent rust, and apply a light coat of oil for lubrication. When it comes to bit storage, use a dedicated case or organizer to prevent bits from banging together and dulling. Keep your drill bits in a dry, cool place to avoid moisture that causes corrosion. Labeling your bits also helps you quickly find the right one for each project. Proper bit storage and regular maintenance ensure your drill bits stay sharp, last longer, and perform better every time you use them.
Frequently Asked Questions
How Does Drill Bit Alignment Affect Hole Quality?
You affect hole quality by ensuring proper drill bit alignment, which allows for smooth cutting and reduces wobbling. Using the right drill bit material, like high-speed steel or carbide, helps maintain stability, while applying cutting fluid minimizes heat and friction. When your drill bit is correctly aligned, and you use suitable materials and fluid, you’ll produce cleaner, more precise holes with minimal imperfections.
Can Drilling at an Angle Cause Ugly Holes?
Yes, drilling at an angle can cause ugly holes, mainly due to improper drill bit angle. When you don’t keep the drill straight, it leads to hole distortion, making the final result look rough and uneven. To avoid this, make sure your drill bit is aligned correctly and maintains a steady, perpendicular position. Staying focused on proper alignment reduces the risk of ugly holes caused by angle issues.
Do Drill Bit Coatings Influence Hole Finish?
Yes, drill bit coatings do influence the surface finish of your holes. A coating with high durability reduces friction and prevents overheating, leading to cleaner, smoother holes. Conversely, low-durability coatings may wear quickly, causing rougher finishes and uneven edges. When selecting a drill bit, opt for one with a strong coating to guarantee better surface finish and more precise results, especially on tougher materials.
How Does Temperature Impact Drill Bit Performance?
Temperature affects your drill bit performance markedly. When it gets too hot, the bit’s material can soften, leading to dullness and poor finish. Using coolant application helps keep the temperature down, preventing overheating. Regular drill bit sharpening restores its cutting edge, ensuring efficient drilling and cleaner holes. By managing temperature with coolant and sharpening tools, you maintain ideal drill bit performance and achieve better results every time.
Are There Specific Techniques for Drilling Small or Delicate Holes?
To achieve precision drilling in small or delicate holes, you should select the right bit—like a micro or brad point bit—designed for accuracy. Use a steady hand, apply light pressure, and drill at a slow, consistent speed to prevent splintering. Clamping your workpiece securely minimizes vibrations. These techniques guarantee cleaner, more precise holes and help you avoid damaging delicate materials.
Conclusion
Remember, choosing the right drill bit and using proper technique can turn frustrating, ugly holes into clean, professional results. It’s funny how a dull bit or a little extra pressure can make all the difference—kind of like how a tiny tweak in your approach can surprise you. Keep your bits sharp and well-maintained, and you’ll find that drilling becomes easier and more satisfying. Sometimes, the smallest adjustments make the biggest difference.