To prevent bad cuts, always guarantee your tape measure is accurate by checking the zero mark alignment, locking it in place, and replacing if damaged. Use a sharp pencil or marker for clear, precise lines, and double-check measurements before cutting. Keep the tape taut and straight for consistent readings. Properly maintaining your tape and verifying measurements can save you from costly mistakes—continue with these tips to master the trick that guarantees perfect cuts every time.
Key Takeaways
- Always verify the tape measure is properly calibrated and free from damage before starting your project.
- Ensure the zero mark lines up exactly with the starting point for accurate measurements.
- Use a straightedge or ruler to connect measurement marks clearly before cutting.
- Double-check measurements and markings to prevent mistakes and ensure precision.
- Lock the tape in place during measurement to prevent stretching or slipping that can cause bad cuts.

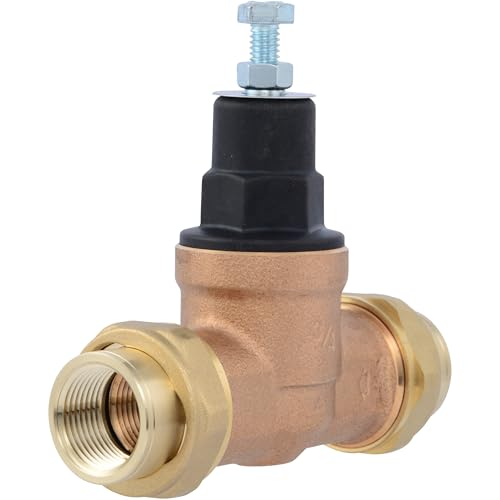
Zurn Wilkins 34-NR3XLDU 3/4" NR3XL Pressure Reducing Valve with Double Union FNPT Connection
Short lay length and compact design installs in tight spaces
As an affiliate, we earn on qualifying purchases.
Understanding Why Tape Measures Can Be Unreliable
Tape measures can be unreliable because their accuracy depends on several factors, including manufacturing quality and how they’re used. Over time, tape measure calibration can drift, leading to inconsistent measurements. If the tape isn’t properly calibrated, your measurements won’t be dependable, affecting your project’s precision. Measurement consistency is vital, especially when making cuts or fitting parts, but even small deviations can cause problems. Frequent use, rough handling, or exposure to elements like moisture can stretch or damage the tape, reducing its accuracy. It’s important to periodically check your tape measure against a known standard to verify it’s still accurate. Recognizing these factors helps you understand why a tape measure might give inconsistent readings and emphasizes the significance of proper maintenance and calibration. Additionally, understanding the contrast ratio of a projector can help you select the right device for clear, detailed images in your home theater setup. Proper storage and handling of your tape measure also play a crucial role in maintaining its measurement accuracy over time.

Water Pressure Regulator 3/4 inch with Gauge, Made of 100% High Hardness Brass, Adjustable Water Pressure Reducing Valve Water for Home DN20
👍【Top Quality】The pressure reducing valve water is 100% high strength brass. No fear of rust or corrosion. It...
As an affiliate, we earn on qualifying purchases.
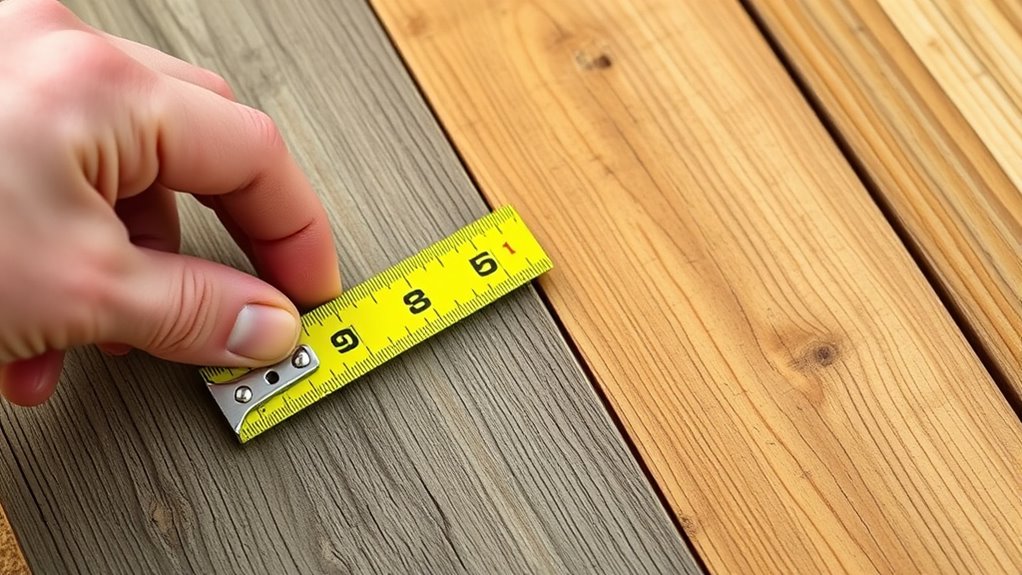
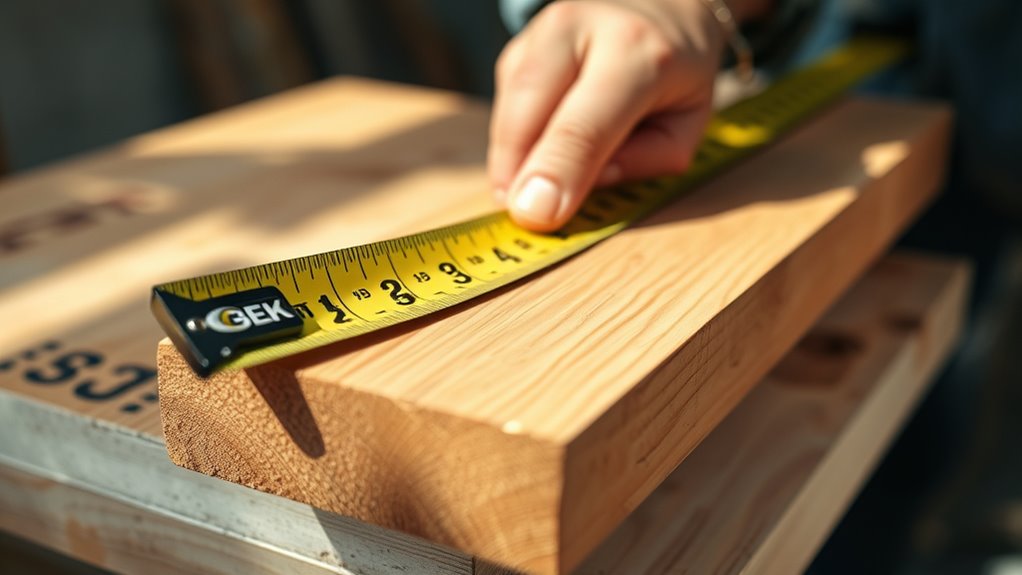
The Basic Technique: Marking Your Measurement Correctly
To mark your measurement accurately, start by aligning the tape precisely with your starting point. Make sure the markings are clear and easy to read so you don’t mistake the measurement. Always double-check your measurement to guarantee accuracy before making any cuts or adjustments. Paying attention to your measurement technique helps ensure precise cuts and a polished finish, especially when considering appliance maintenance plans to keep your tools in top condition. Additionally, using safe installation practices ensures your project remains secure and effective. Being aware of active voice detection can also help improve clarity and professionalism in your instructions. Properly selecting a lint roller can prevent small mistakes from ruining your project or causing uneven cuts.
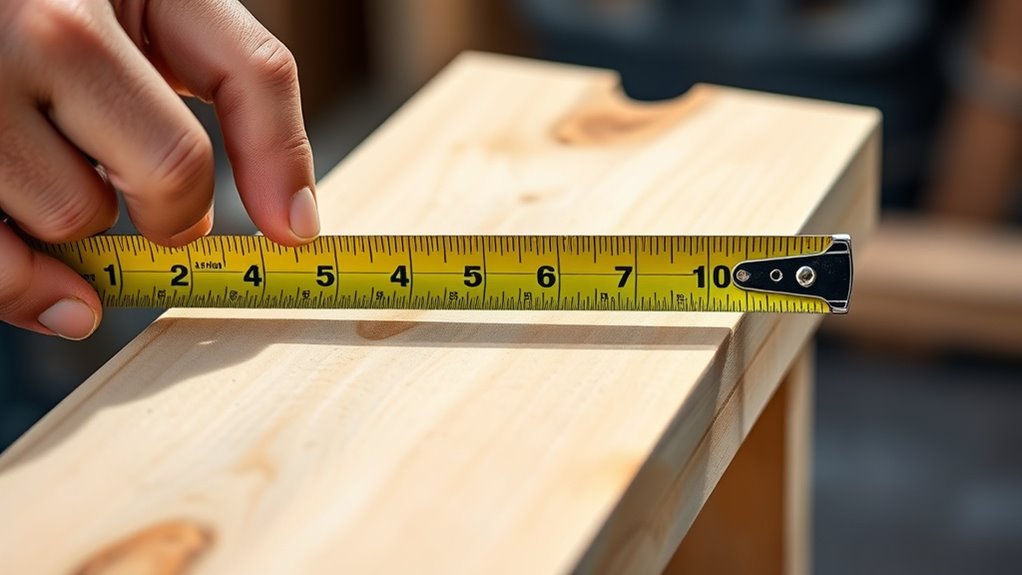
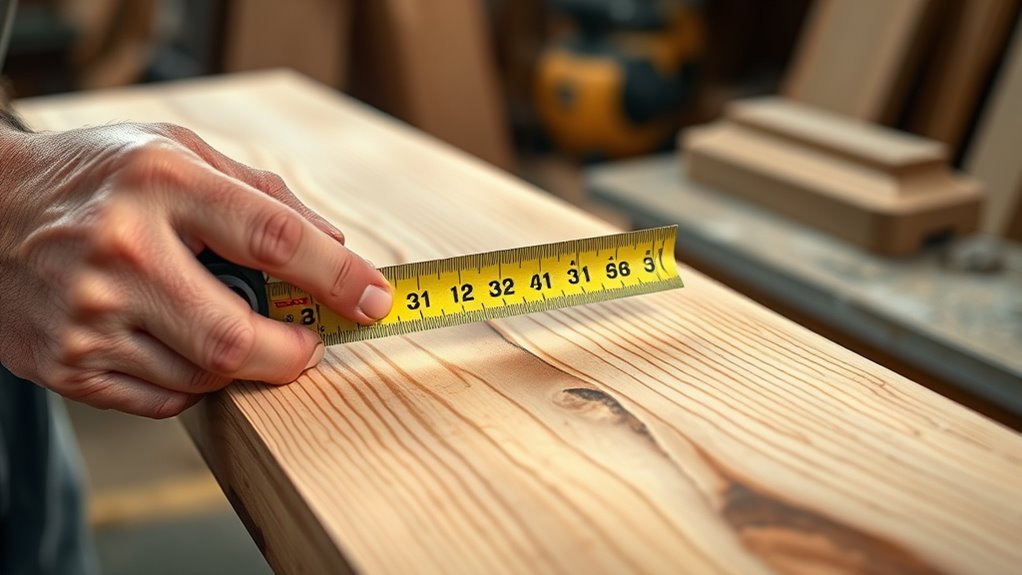
Aligning the Tape Precisely
When measuring, guaranteeing the tape is aligned carefully so your mark is accurate is essential. Start by pulling out the measuring tape smoothly, keeping it flat against the surface. Make sure the tape’s zero mark lines up exactly with your starting point. Avoid twisting or bending the tape, as this can skew your measurement accuracy. Keep the tape taut but not stretched, so it stays in position without slack. When you reach your measurement point, double-check that the tape is straight and flush against the surface, not bowed or crooked. Proper alignment ensures your marking is precise, preventing mistakes later. Taking these small steps helps you achieve accurate measurements every time, making your cuts cleaner and more reliable. Measurement accuracy is especially important in precision projects. Ensuring your measurement tools are properly calibrated can further improve your results. Additionally, using a reliable tape measure can help maintain consistent accuracy over time. For consistent results, always handle your tape measure with care to avoid wear and tear that could affect its accuracy.
Using Clear Markings Effectively
Once you’ve aligned your measuring tape properly, the next essential step is to mark your measurement clearly and accurately. Using proper marking techniques guarantees your cuts are precise. Start by selecting measurement tools with clear, easy-to-read markings. When marking, make sure your pencil or marker is sharp for clean lines. Keep the tape steady, and note exactly where the measurement line hits your mark. Avoid guesswork—double-check that your measurement tools are aligned correctly before marking. For best results, use a straightedge or a ruler to connect marks for longer measurements. Consistent marking prevents confusion and mistakes during cutting, saving you time and material. Mastering these simple marking techniques makes your measurements more reliable and your cuts more accurate. Additionally, understanding the lifecycle and performance metrics of your tools can help ensure sustained accuracy over time.
Double-Check Measurement Accuracy
After marking your measurement, it’s easy to assume everything is accurate, but double-checking guarantees your cut will be precise. Verify your measurement units—whether inches or centimeters—are consistent and correct. A quick re-measure ensures you didn’t misread the tape measure or confuse markings. Knowing tape measure history reveals how early tools sometimes lacked clear markings, making double-checking even more important. Take a moment to re-measure from the start, aligning the tape measure carefully to your mark. Confirm that your measurement matches your plan before cutting. This small step prevents costly mistakes and ensures accuracy. Passive voice detection can further improve clarity and precision in your instructions. Additionally, understanding the importance of support breakfast can inspire you to set up your workspace with the same care and attention to detail. When you understand the significance of measurement accuracy, it encourages thoroughness and reduces errors. By double-checking, you catch errors early, saving time and material, and making your project safer and more professional.

Zurn Wilkins 112-NR3XLDU 1-1/2" NR3XL Pressure Reducing Valve with Double Union FNPT Connection
Short lay length and compact design installs in tight spaces
As an affiliate, we earn on qualifying purchases.
Using a Straight Edge for Precise Cuts

Using a straight edge is essential for achieving clean, accurate cuts in your project. It provides a reliable guide that guarantees your cut follows your marked line precisely. To do this effectively, start with proper marking techniques—use a sharp pencil or marking tool to create clear, visible lines. Before cutting, double-check your tape measure calibration; an inaccurate measure can throw off your entire line. Once your markings are confirmed, place the straight edge along the line, ensuring it’s firmly aligned. Keep the straight edge steady as you cut to prevent slipping or deviations. This method minimizes errors, providing a neat, professional finish. Using a straight edge combined with careful marking and calibration guarantees your cuts are precise, saving you time and material waste. Additionally, understanding measurement accuracy is crucial for maintaining precision throughout your project. Paying attention to tool quality can also significantly impact the quality of your cuts and overall project outcome. Regularly inspecting your tools helps ensure consistent cutting performance, which is vital for achieving the best results and maintaining precision in measurements. Moreover, practicing this technique regularly can help develop your cutting skills, leading to even more accurate and efficient work.
Cash Acme EB45 Pressure Regulating Valve, Double Union, 3/4 Inch NPT Female, Poly Top, 60 PSI, PVA16P-DUTH-60, Brass
CASH ACME WATER PRESSURE REGULATOR: The Cash Acme Direct Pressure Regulating Valve (PRV) features a half cartridge design...
As an affiliate, we earn on qualifying purchases.
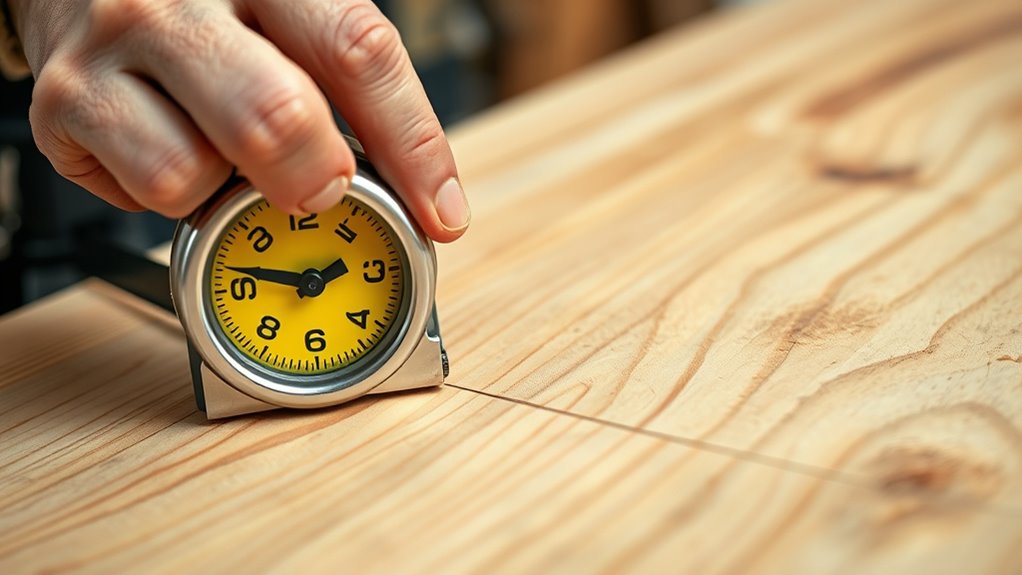
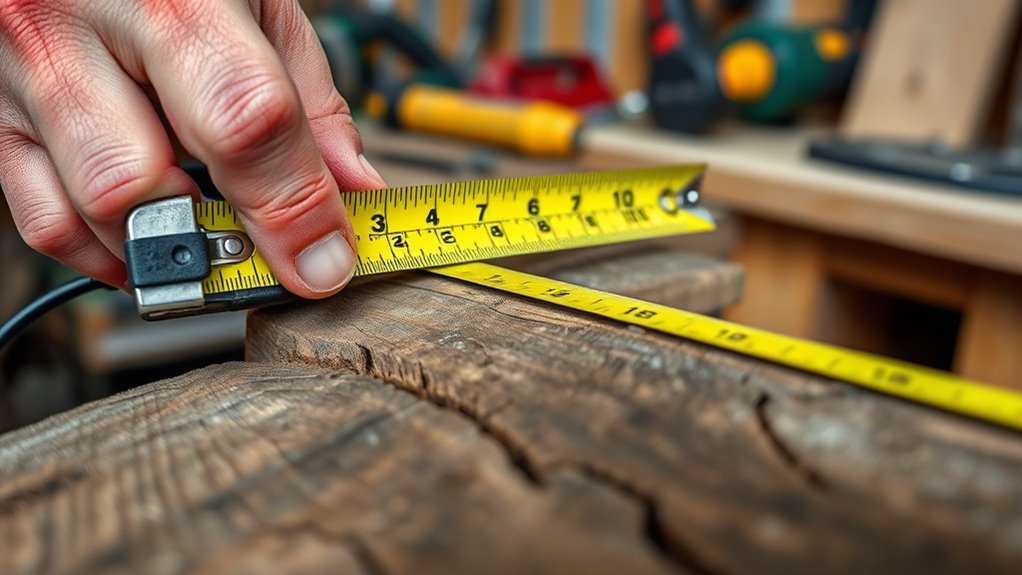
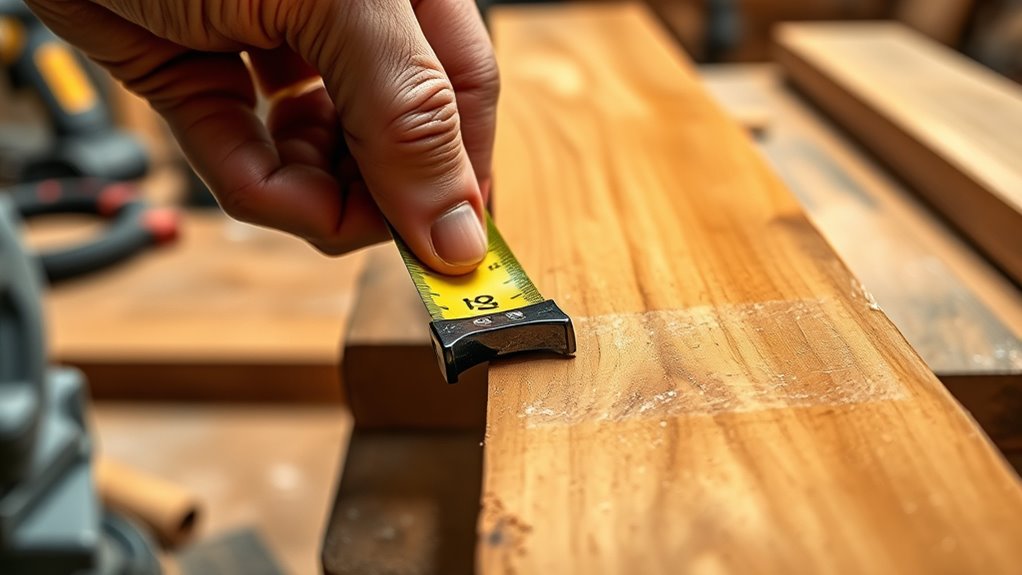
How to Set Your Tape Measure for Accuracy
Ensuring your tape measure reads accurately is key to making precise cuts. Start by checking the measuring units—most tape measures have both imperial and metric markings. Confirm that the measurement at the zero mark lines up perfectly with the tape’s edge; if it doesn’t, you may need a tape repair. To fix this, gently adjust the tape or consider replacing it if it’s damaged. Always lock the tape at the desired measurement and ensure it doesn’t slip or stretch during use. Keep in mind that some tapes may wear out over time, causing inaccurate readings. Regularly calibrate your tape measure by comparing it with a known standard. Accurate setup guarantees you’ll get precise measurements, avoiding mistakes that could ruin your project. Additionally, understanding the proper tape measure maintenance can extend its lifespan and keep your readings reliable. Being aware of wear and tear can help you identify when your tape needs replacement or repair to maintain measurement accuracy. Performing periodic accuracy checks can help catch issues early and ensure consistent results over time. Incorporating these practices will help you prevent measurement errors and ensure your cuts are always precise.
Common Mistakes That Lead to Bad Cuts
One of the most common mistakes that lead to bad cuts is failing to double-check measurements before making a cut. Relying solely on your measuring tape without confirming the measurements can result in inaccuracies that ruin your project. A common error is misreading the tape or not aligning it properly, which affects cutting accuracy. Also, forgetting to account for the tape’s hook or using a worn measuring tape can throw off your measurements. Another mistake is rushing through the measurement process, leading to slips or incorrect marks. To avoid these pitfalls, always re-measure before cutting, ensure the measuring tape is straight and snug, and double-check your markings. These steps help maintain cutting accuracy and prevent costly mistakes.
Incorporating a Sharp Pencil or Marker for Clear Lines

Using a sharp pencil or marker makes your lines more visible, helping you see exactly where to cut. Clear lines reduce mistakes and guarantee your measurements stay accurate. With precise markings, your project will come together much more smoothly.
Enhances Line Visibility
Have you ever struggled to see your lines clearly on a surface? Using a sharp pencil or marker can dramatically improve your line visibility, making your measurements precise. When working with a measuring tape, clear lines prevent mistakes and reduce frustration. Good marking techniques involve pressing firmly but not so hard that the line smudges or fades. A vivid, dark line helps you follow your measurements accurately. Keep your tools sharp, and choose high-contrast markers for better visibility. This simple step enhances your confidence and speeds up your project. Remember, sharp lines are the foundation of accurate cuts and flawless results.
- Feel the satisfaction of perfect measurements
- Avoid costly mistakes from unclear lines
- Gain confidence with every mark
- Reduce stress and rework
- Finish projects with pride
Ensures Precise Cutting
A sharp pencil or marker is essential for guaranteeing precise cuts because clear, dark lines serve as accurate guides for your saw or cutting tool. When your lines are crisp and visible, measuring accuracy improves, reducing the chance of mistakes. A fine tip helps you draw straight, consistent lines that won’t smudge or fade easily, maintaining tape durability during repeated use. Using a quality marking tool ensures your measurements stay clear, even after handling or slight moisture exposure. This clarity allows you to cut exactly along the intended line, preventing material waste and rework. Proper marking makes all the difference in achieving clean, accurate results, especially when working with tight tolerances or delicate materials. Ultimately, precise lines streamline your project and boost your confidence in every cut.
Double-Checking Your Measurements Before Cutting
Before making the cut, verifying your measurements is vital to avoid costly mistakes. Double-checking ensures measurement precision and confirms your tool calibration is accurate. Take the time to re-measure, even if you’re confident, because small errors can lead to big setbacks. Accurate measurements give you confidence and peace of mind, preventing frustration and wasted materials. Remember, a quick second look can catch errors before they become costly. Making sure your tape measure is correctly calibrated and your measurements align perfectly will make your project smoother.
Double-check your measurements to prevent costly mistakes and ensure a smooth, accurate project.
- Feel the relief of nailing your cut on the first try
- Avoid the heartbreak of redoing work
- Experience pride in your precise craftsmanship
- Save money by preventing material waste
- Feel unstoppable knowing your measurements are spot-on
Tips for Maintaining Your Tape Measure’s Accuracy
Maintaining your tape measure’s accuracy is key to consistently getting precise measurements. Regular measurement calibration guarantees your tape stays reliable over time. Check the markings for fading or distortion and compare them against a known standard if possible. Tape wear is another common issue; frequent use can cause the tape to stretch or become loose, leading to inaccurate readings. To prevent this, avoid pulling the tape too hard and store it properly—retract it smoothly and keep it in a dry, cool place. Inspect the tape periodically for bends, kinks, or damage that could compromise measurement accuracy. By keeping your tape measure calibrated and monitoring tape wear, you’ll ensure your measurements remain precise, helping you make accurate cuts every time.
Practical Examples of the Trick in Action
Ever wonder how a simple tape measure trick can save you time and effort on your projects? When you apply this trick, your measuring techniques become more accurate and reliable. You’ll see how proper tape measure calibration guarantees every cut is precise, preventing costly mistakes.
Here are some practical examples:
- Achieving perfect lengths for furniture assembly without second-guessing measurements
- Cutting drywall panels to exact sizes, reducing waste
- Ensuring shelves are level and evenly spaced
- Installing flooring with flawless precision
- Building frames that fit perfectly on the first try
Frequently Asked Questions
Can This Trick Work With Digital or Laser Measuring Tools?
Yes, this trick can work with digital tools and laser measures. You just need to guarantee you’re reading the measurements accurately and marking your cut lines precisely. Digital tools often display measurements clearly, making it easier to apply the trick. Laser measures are highly accurate, so using them with this method helps prevent errors. Just stay focused on the measurement readout and mark your cuts carefully for the best results.
How Often Should I Replace or Recalibrate My Tape Measure?
Did you know that a poorly maintained tape measure can cause errors of up to 1/16 inch? You should replace or recalibrate your tape measure every 12 months to guarantee accuracy. Follow a regular calibration schedule, especially if you use it daily or for precise work. Proper care extends your tool’s lifespan, saving you time and money while preventing costly mistakes on your projects.
Is This Technique Suitable for Measuring Curved or Irregular Surfaces?
Yes, this technique works well for measuring curved surfaces and irregular shapes. You can adapt your tape measure by gently conforming it to the contours, ensuring accurate readings. Keep the tape snug but not tight, and take multiple measurements if needed. This approach helps you get precise measurements on tricky surfaces, reducing errors and resulting in cleaner, more accurate cuts for your project.
Does the Trick Apply to All Types of Tape Measures, Including Metric Ones?
Yes, this trick works with all types of tape measures, including metric ones. You can use it regardless of whether you’re measuring in imperial measurements or metric units. Just make certain your tape measure has good tape durability so it stays accurate and flexible. The trick helps prevent bad cuts by keeping the tape straight, making it suitable for both measurement systems and various project types.
Are There Safety Precautions to Consider When Marking and Cutting?
You should always prioritize safety when marking and cutting. Wear safety gear like goggles and gloves to protect yourself from splinters or debris. Make certain proper lighting so you can see your measurements clearly and avoid mistakes. Keep your workspace organized, secure the material firmly, and never rush the process. These precautions help prevent accidents and ensure precise cuts, keeping you safe and confident as you work.
Conclusion
Did you know that inaccurate measurements cause over 70% of DIY mistakes? By mastering this tape measure trick, you’ll drastically reduce bad cuts and waste. Remember, double-check your measurements, use a sharp pencil, and set your tape carefully. Practicing these steps guarantees precision every time. With just a little extra care, you can save time, money, and frustration—making your projects smoother and more successful. Give it a try and see the difference for yourself!