
Decoding sanding grits means understanding that lower numbers (like 40-60) are coarse and remove material quickly, while higher numbers (220-400) are fine and create smooth finishes. Knowing when to switch from coarse to fine grits guarantees you avoid damaging surfaces or wasting time. Picking the right grit depends on your project and surface type. If you want to master this process, keep exploring the details ahead.
Key Takeaways
- Grit numbers indicate abrasive coarseness; lower numbers (40-60) are coarse, higher numbers (220+) are fine, guiding optimal grit choice.
- Progress from coarse to fine grits ensures smooth surface finishing and prevents surface damage.
- Switch to a finer grit once scratches from the previous grit are removed and the surface feels smooth.
- Proper grit progression reduces dust, waste, and over-sanding, improving efficiency and surface quality.
- Recognizing surface cues like smoothness and scratch visibility helps determine the right time to change grits.
Understanding Grit Numbers and Their Significance
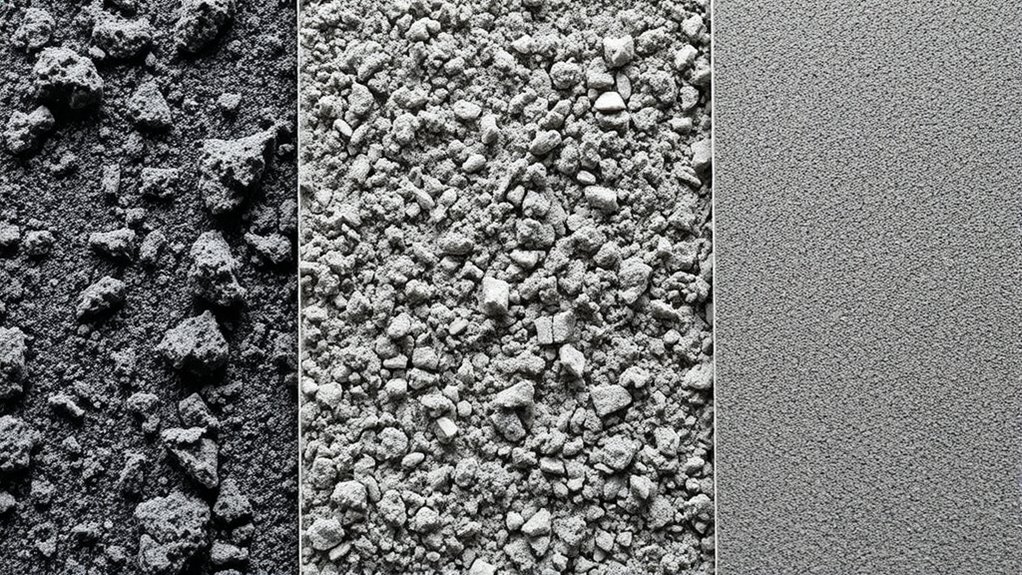
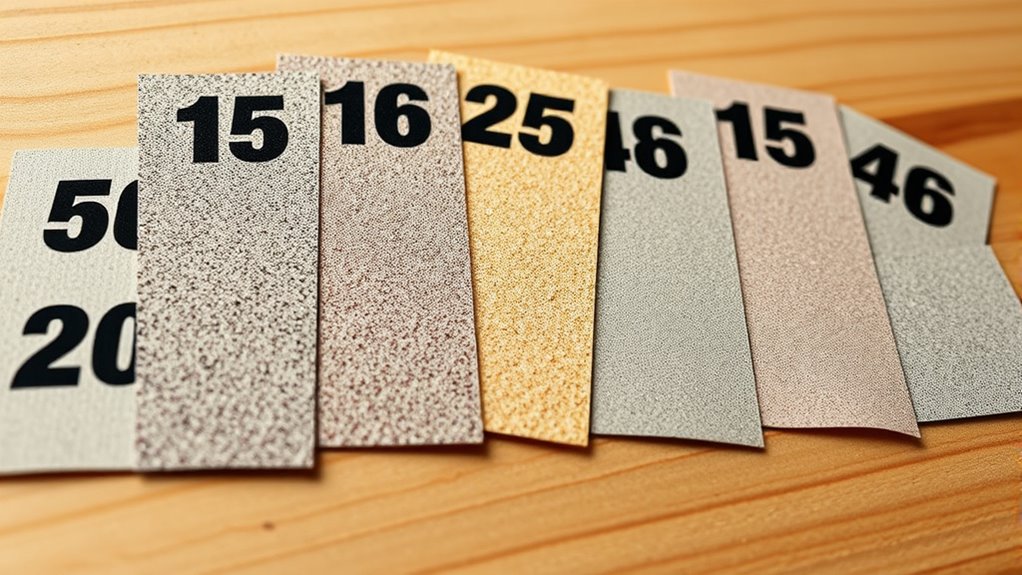
Have you ever wondered what those numbers on sanding papers really mean? Grit number significance is vital for understanding sanding grit identification. The numbers indicate the size of the abrasive particles, with lower numbers like 40 or 60 representing coarser grits that remove material quickly. Higher numbers such as 220 or 320 denote finer grits, which are ideal for smoothing surfaces. Recognizing how grit sizes relate helps you choose the right sandpaper for each task. For example, coarse grit is perfect for stripping paint or shaping wood, while fine grit is better for finishing touches. By understanding grit number importance, you can avoid damaging surfaces or wasting time on overly aggressive sanding. Additionally, selecting the appropriate grit can influence the overall surface quality and durability of your project. Knowing the abrasive material can also impact the effectiveness and lifespan of your sandpaper, ensuring optimal performance throughout your work. Proper knowledge of grit size relation enables more precise and efficient sanding, ultimately leading to a better finished product. Incorporating industry standards can further improve your selection process and results.
How to Choose the Right Grit for Your Project
Choosing the right grit for your project begins with understanding the surface you’re working on and the goal you want to achieve. Start by evaluating whether you need to remove material quickly or just smooth the surface. For sanding safety, always wear protective gear and avoid overly aggressive grits that can cause splinters or dust inhalation. Additionally, consider the environmental impact of your sanding process; using finer grits and less aggressive abrasives can reduce dust and waste. If you’re working on delicate wood or finishing, opt for finer grits to minimize damage and dust production. Conversely, coarser grits are suitable for heavy stripping but generate more debris. Selecting the proper grit helps you work efficiently, safely, and sustainably. Understanding sanding safety and proper technique is essential to prevent accidents and ensure a quality finish. Being aware of abrasive material properties can also help you choose the most effective grit for your specific task. Moreover, choosing the appropriate grit can influence the efficiency of material removal, making your project progress smoother and faster. Recognizing abrasive grit types can further refine your selection process for better results.
Differences Between Coarse, Medium, and Fine Grits
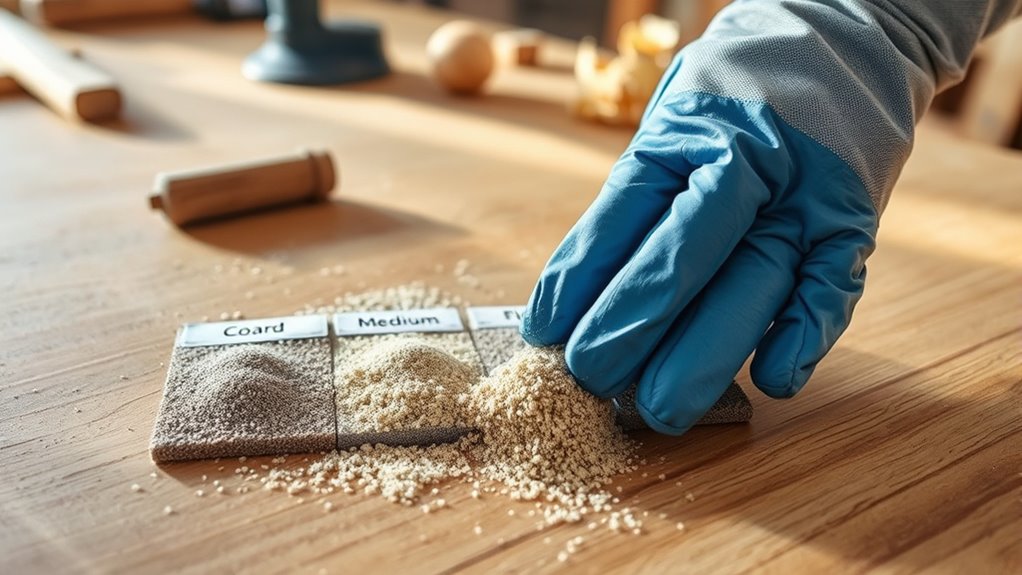
Coarse, medium, and fine grits serve different purposes in your sanding projects, each defined by the size of their abrasive particles. Coarse grit is ideal for metal sanding or removing rough layers of wood quickly. It’s aggressive and leaves a rough surface, perfect for initial shaping. Medium grit smooths out scratches from coarse sanding and prepares surfaces for finer work, making it suitable for wood finishing prep or refining metal surfaces. Fine grit provides a smooth, polished finish, ideal for final wood finishing or delicate metal work. Choosing the right grit depends on your task; using too coarse a grit can damage your surface, while too fine may not remove enough material. Understanding these differences helps you achieve a professional look in both metal sanding and wood finishing. Additionally, selecting the appropriate grit can also influence appliance maintenance by ensuring tools and surfaces are properly prepared for finishing or repair work. For optimal results, it’s important to recognize how abrasive particle size impacts the effectiveness of your sanding process, especially when considering the material removal rate for different projects. Being aware of sanding grit variations allows you to tailor your approach for better efficiency and a more refined finish.
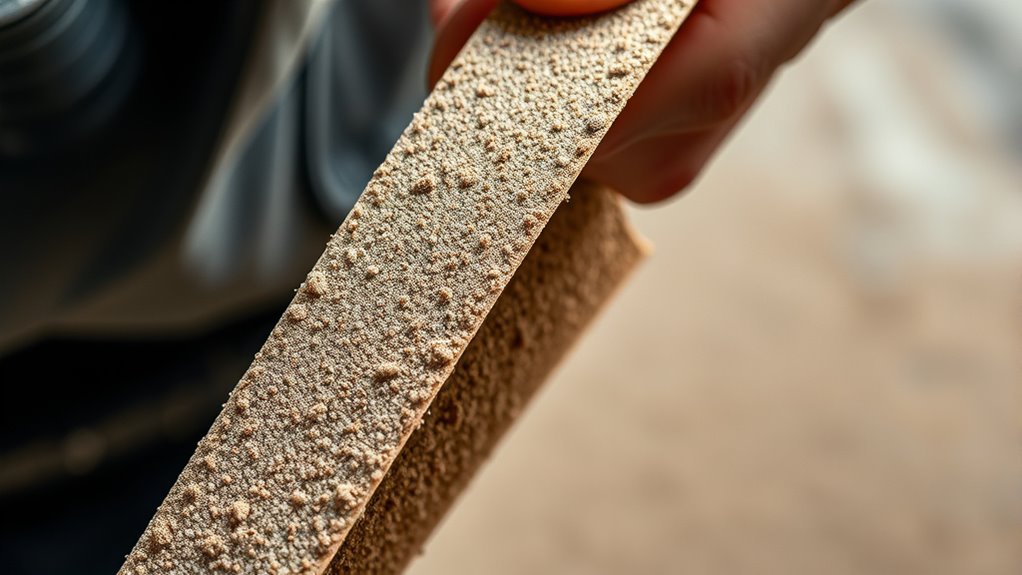
Common Types of Sanding Materials and Their Grits
Different sanding materials use various abrasive types, each suited for specific tasks. You’ll find grit ranges that vary from coarse to ultra-fine, depending on the material and finish you need. Understanding these options helps you choose the right combination for your project’s precision and efficiency. For delicate or detailed work, selecting the appropriate grit level ensures optimal results. Recognizing the abrasive material used can also influence the effectiveness and lifespan of your tools. Additionally, selecting the correct grit size can minimize material removal while achieving the desired surface quality. Incorporating abrasive technology through high-quality content about abrasives can also guide users in making informed decisions.
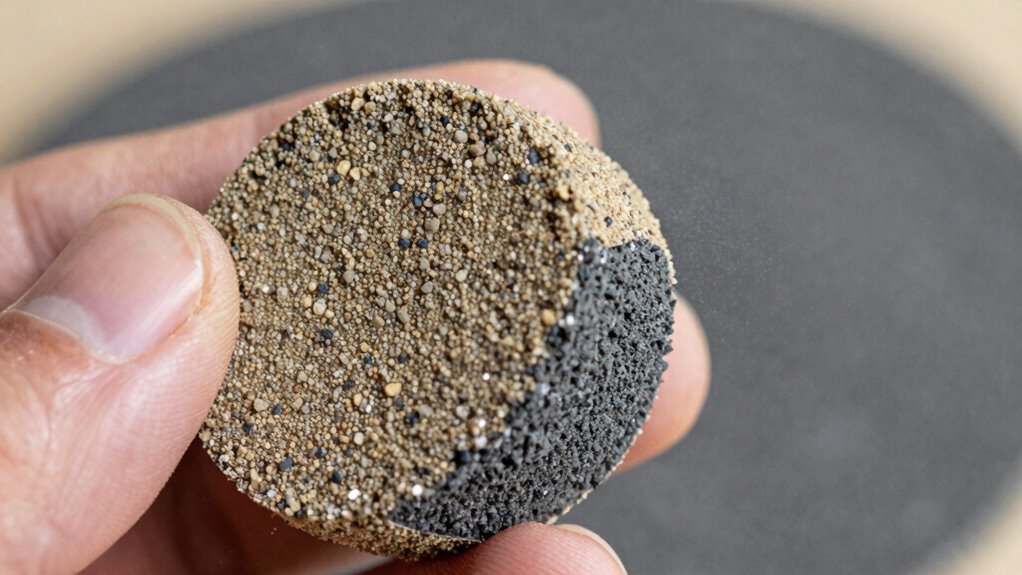
Abrasive Material Types
Understanding the various abrasive materials used in sanding is essential for selecting the right grit for your project. Different abrasive materials, like aluminum oxide, silicon carbide, and garnet, each have unique properties suited for specific grit applications. Aluminum oxide is durable and versatile, making it ideal for metal and wood surfaces. Silicon carbide is sharper and harder, perfect for smoothing plastics and hard materials. Garnet offers a softer, more natural feel, often used for fine wood finishing. Knowing these abrasive material types helps you match the grit to your task, ensuring efficient material removal and a smooth finish. Choosing the right abrasive material helps you optimize your grit application and achieve professional results without unnecessary wear or damage. Additionally, understanding the abrasive properties can guide you in selecting the appropriate grit size for your specific project needs. Selecting the appropriate sanding equipment also enhances the effectiveness and safety of your project. Being familiar with the abrasive material properties allows for better decision-making and improved sanding outcomes. Furthermore, selecting the correct fake fireplace can contribute to achieving a cozy ambiance in your space without the complexities of traditional installations.
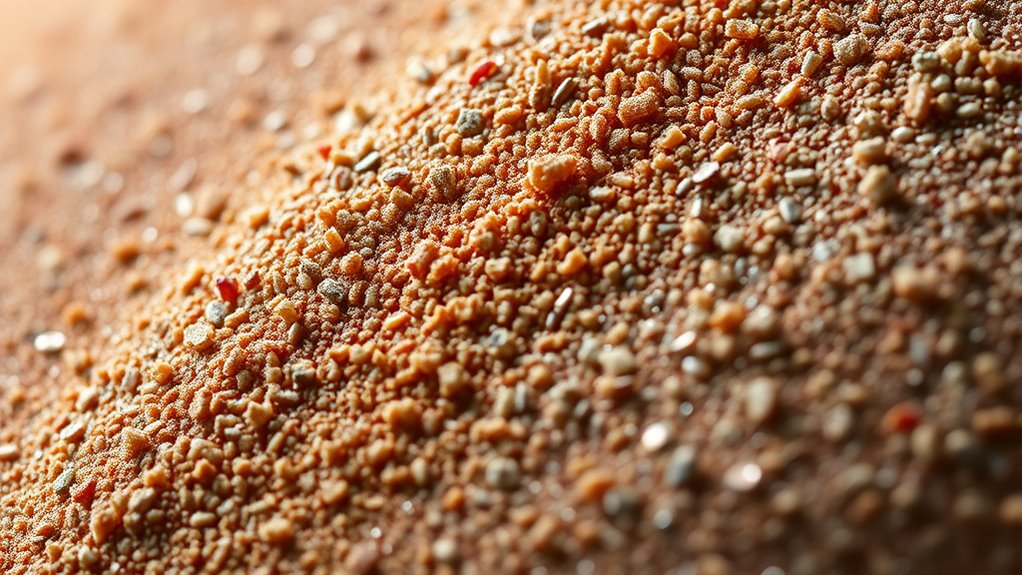
Grit Range Variations
Choosing the right grit range is essential for achieving the desired finish and efficiency in your sanding projects. The sanding grit evolution shows how grit sizes have expanded, offering more precise options. Coarse grits (40-60) remove material quickly, ideal for initial shaping or stripping. Medium grits (80-120) balance material removal and smoothness, perfect for prepping surfaces. Fine grits (150-220) refine surfaces, while extra fine grits (240-400) are used for finishing touches. Grits for delicate surfaces require very fine abrasives to prevent damage, especially on soft woods or delicate materials. Knowing the grit range variations helps you select the appropriate abrasive for each stage, ensuring a smooth, professional result without unnecessary effort or surface harm. Understanding abrasive materials can further improve your sanding outcomes by matching the grit to the specific material you’re working with. Additionally, familiarizing yourself with grit progression can help you develop a more efficient sanding technique tailored to your project needs. Recognizing the abrasive compatibility ensures the chosen grit works effectively with different types of sanders and surfaces.
Tips for Achieving a Smooth Finish With Proper Grit Selection
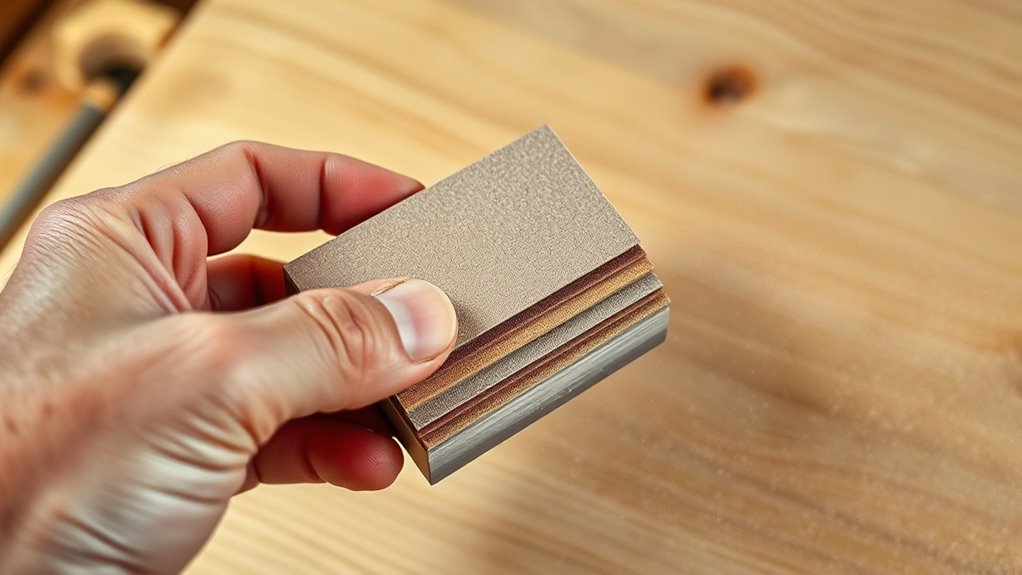
Selecting the right grit is essential for a smooth finish, as it directly affects how your surface feels and looks. To achieve this, start with a coarser grit to remove imperfections, then gradually move to finer grits for a polished surface. Always prioritize sanding safety by wearing protective gear and working in a well-ventilated area. Environmental considerations also matter; use eco-friendly sandpapers when possible and dispose of dust responsibly. Consistent, even pressure ensures uniform results, preventing uneven sanding or scratches. Take your time to switch grits at appropriate stages, and avoid rushing through the process. Proper grit selection not only delivers a flawless finish but also minimizes waste, promotes safety, and respects environmental impact.
When to Switch Grits During Your Project
Knowing when to switch grits is key to achieving a smooth surface and removing scratches efficiently. As your project progresses, changing to a finer grit prepares your piece for a flawless finish. Pay attention to surface smoothness and scratches to determine the right moment to upgrade your grit.
Progressing Surface Smoothness
As you work through sanding your project, switching to a finer grit at the right moments is essential for achieving a smooth surface. Recognize when your initial grit has removed rough imperfections and progresses into refining the surface. Typically, after the material feels consistently smooth and scratches from the previous grit are gone, it’s time to step up. Proper finishing techniques involve closely inspecting your work and feeling for any remaining rough spots. Remember to follow safety precautions, such as wearing a dust mask and eye protection, to prevent inhaling particles. Moving to a finer grit gradually reduces scratches and prepares your surface for finishing. Knowing when to change grits ensures you don’t over-sand or under-sand, leading to a professional-looking, smooth finish.
Removing Scratches Efficiently
Once your surface feels smooth and the scratches from the previous grit are no longer visible, it’s time to contemplate switching to a finer abrasive. Doing so helps you remove remaining imperfections efficiently while avoiding unnecessary work. Always prioritize sanding safety by wearing protective gear and working in well-ventilated areas to minimize dust inhalation. Switching grits at the right moment prevents over-sanding, which can damage the surface. Additionally, using appropriate grits reduces environmental impacts by minimizing dust and waste. Remember, jumping to a finer grit too early can prolong the process, while waiting too long might leave scratches. Carefully assess your surface, and change to the next grit step when scratches diminish, ensuring a smooth, even finish without compromising safety or the environment.
Preparing for Finish
Preparing for the finish requires paying close attention to your surface’s condition and knowing the ideal point to switch to a finer grit. You should stop sanding with the current grit once scratches are minimized, and the surface feels smooth to the touch. This changeover is vital for achieving a flawless finish and guaranteeing sanding safety. Using the right grit at the right time prevents uneven surfaces and reduces the need for additional work later. Remember, regularly maintaining your tools—cleaning and inspecting them—keeps them performing at their best and guarantees consistent results. Switching to a finer grit too early can cause unnecessary scratches, while waiting too long can make finishing difficult. Staying attentive to your surface’s condition and practicing proper tool maintenance are key to a perfect finish.
Frequently Asked Questions
Can Grit Numbers Vary Between Different Sanding Brands?
Yes, grit numbers can vary between different sanding brands. You might notice that a 120 grit from one brand feels coarser or finer than a 120 grit from another. This happens because of inconsistencies in brand consistency and grit measurement standards. Always check the manufacturer’s grit rating and compare samples when possible to verify you’re using the right sandpaper for your project, rather than relying solely on grit numbers.
How Do Environmental Factors Affect Grit Performance?
Ever wonder how environmental factors influence grit performance? Moisture impact can cause abrasive particles to clump, reducing their effectiveness, while high humidity may weaken the bonding agent, decreasing abrasion resistance. These conditions can make sanding less efficient and alter grit durability. So, you should always consider your workspace environment to choose the right grit, ensuring ideal results and longer-lasting abrasives. Proper storage and climate control help maintain grit performance over time.
Are There Eco-Friendly Alternatives to Traditional Sanding Grits?
Yes, there are eco-friendly alternatives to traditional sanding grits. You can choose biodegradable abrasives made from natural materials like coconut shells, walnut shells, or mineral-based options. Plant-based sanding materials are also available, offering effective performance without harming the environment. These options reduce waste and pollution, making your sanding projects more sustainable. Switching to biodegradable abrasives and plant-based sanding materials helps protect ecosystems and promotes eco-conscious craftsmanship.
How Does Grit Size Influence Sanding Speed and Efficiency?
Grit size directly affects your sanding speed and efficiency. Larger grit numbers mean finer abrasives, which remove material more slowly but produce a smoother finish. Conversely, smaller grit sizes cut faster, ideal for initial sanding stages. Your choice of grit influences your sanding techniques, so selecting the right grit for each task guarantees effective material removal and a polished result. Always match grit size to your project’s specific needs for maximum efficiency.
What Safety Precautions Should Be Taken When Handling Different Grits?
Imagine yourself in a workshop, dust swirling around as you handle different grit sandpapers. Always wear a mask to prevent dust inhalation and gloves to shield your skin from abrasions. When switching grits, keep your workspace well-ventilated and clean up dust regularly. These precautions protect you from respiratory issues and skin irritation, ensuring safe, effective sanding sessions every time.
Conclusion
Mastering sanding grits is like tuning an instrument—you’ll create harmony in your project’s finish. By understanding grit numbers and knowing when to switch, you’ll transform rough wood into a silky surface with confidence. Don’t let guesswork be your guide; instead, let your knowledge be the brushstroke that brings your vision to life. With the right grit, your craftsmanship will shine brighter than a polished gem.